Installing Matplotlib (Windows)

What is Matplotlib? It’s the de facto standard for creating visualizations—charts, plots, graphs, even animations—with Python.
Matplotlib is a comprehensive library for creating static, animated, and interactive visualizations in Python. Matplotlib makes easy things easy and hard things possible.
(from the Matplotlib website)
Matplotlib has great documentation, and I encourage you to dive right in. See: Getting started.
However, JIC you want a brief recipe for installing Matplotlib on a Windows machine, you’ve come to the right place.
If you’re using Thonny…
Installing modules like Matplotlib is easier with Thonny than it is with IDLE. Right out of the box, Thonny provides a package installer interface, its own version of Python, and its own virtual environment. Many details are hidden from the user (which is often better for beginners). Installing modules with IDLE is more of a DIY (do it yourself) process, with a few extra steps. If you have difficulty with the instructions for IDLE, you may wish to try Thonny.
Thonny make installation of Matplotlib pretty easy, since Thonny provides its own version of Python and its own virtual environment.
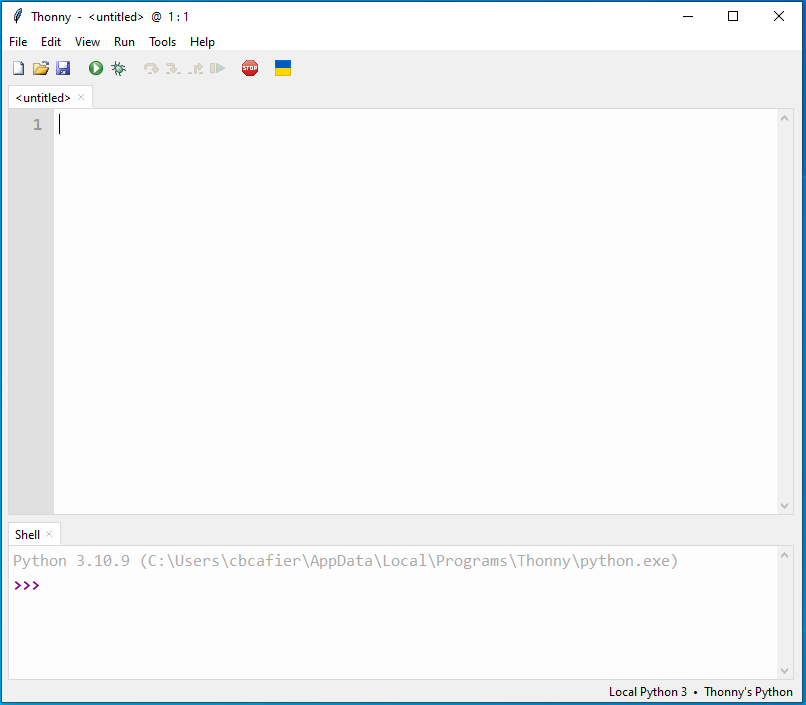
1. Launch Thonny and open Thonny’s package manager
Open Thonny, and open the Tools menu. Choose “Manage packages…”
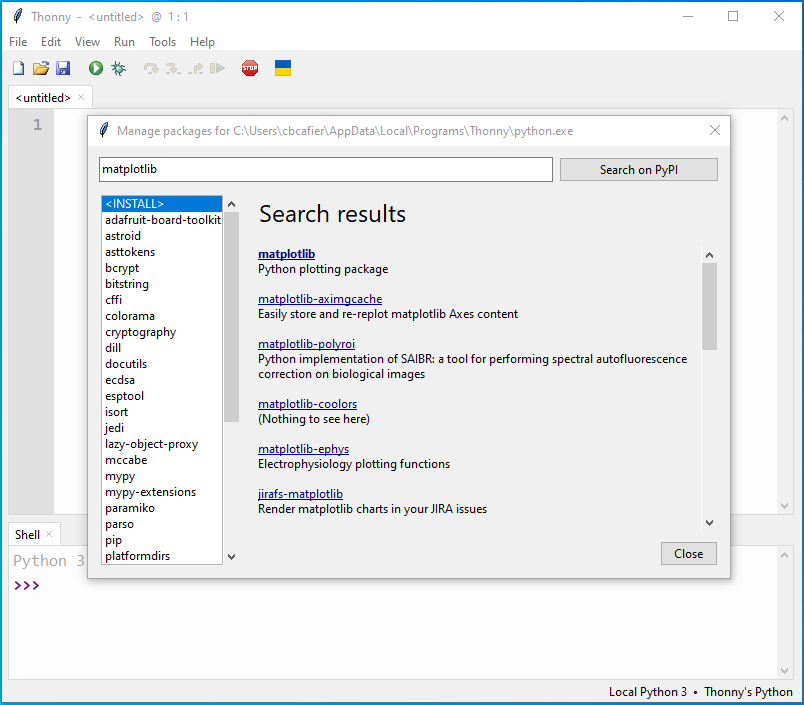
2. Seach for and select matplotlib
You’ll see a search form. Enter “matplotlib” and click the button labeled “Search on PyPI.” (PyPI is the official repository for installable modules for Python.)

You’ll see “matplotlib” listed among the search results. Click on this.
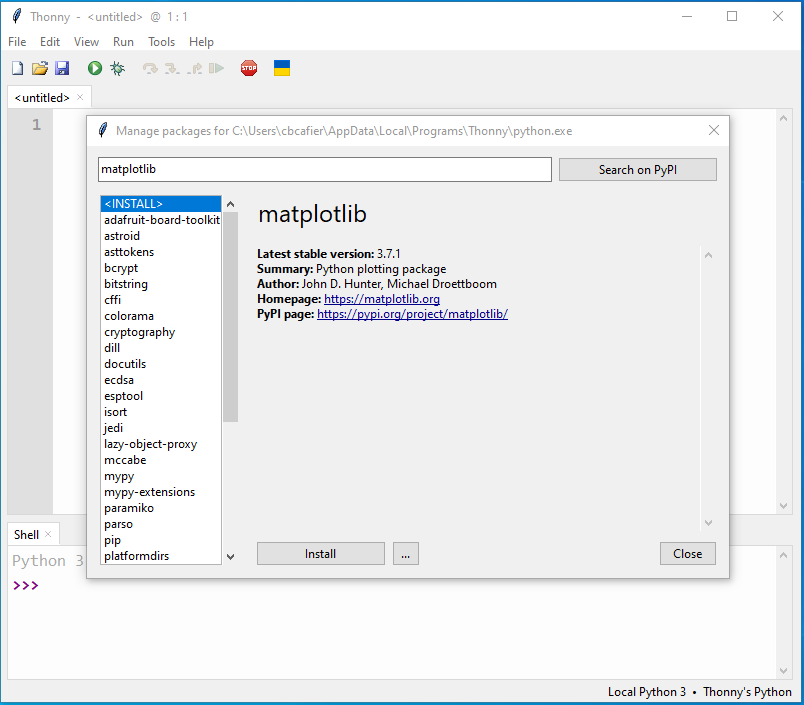
3. Confirming your selection and installing
You should see some information about matplotlib. Click the button labeled “Install.”
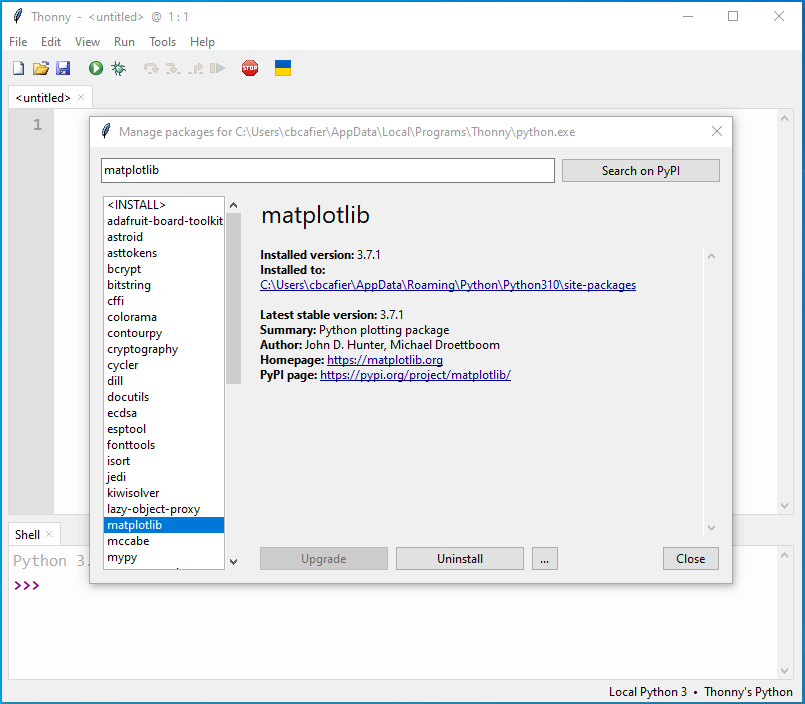
Once this is done, you should see a screen indicating that matplotlib has been installed. Click the button labeled “Close.”
4. Verify matplotlib is installed and available
In the Python shell (within Thonny) type import matplotlib at the prompt and hit return. If you arrive at another prompt without any errors displayed you should be good to go!
>>> import matplotlib
>>>
5. Hello Matplotlib
Try it out. Create a new Python file and enter the little bit of code shown here. Click the run button.
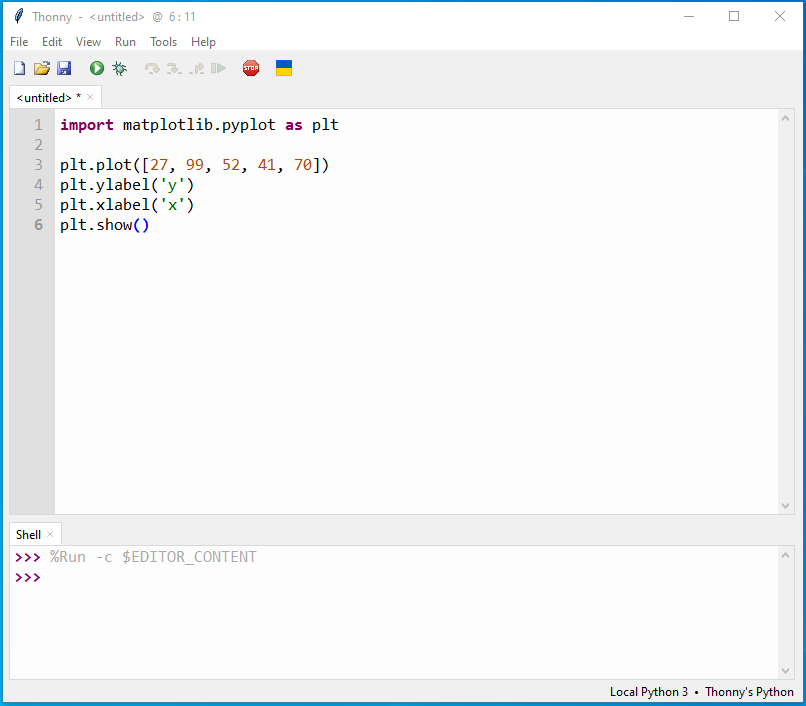
You should see a plot in a new window!

Congratulations! You have Matplotlib installed and working!
If you’re using IDLE…
Here we present instructions which involve using a virtual environment. A virtual environment includes its own version of Python, and whatever modules you install to the environment. Virtual environments are a way of isolating dependencies for projects using Python. Creating and using a virtual environment is the preferred approach, though it requires additional steps.
You may be able to install Matplotlib to your system without a virtual environment. However, there are risks associated with altering the OS-provided installation of Python. By using a virtual environment, you can install modules (like Matplotlib), leaving your system-supplied Python unaltered.
1. Launch PowerShell
From the Windows search bar, usually located on the bottom left of your desktop, search for and open “powershell.” This will open a PowerShell terminal window.
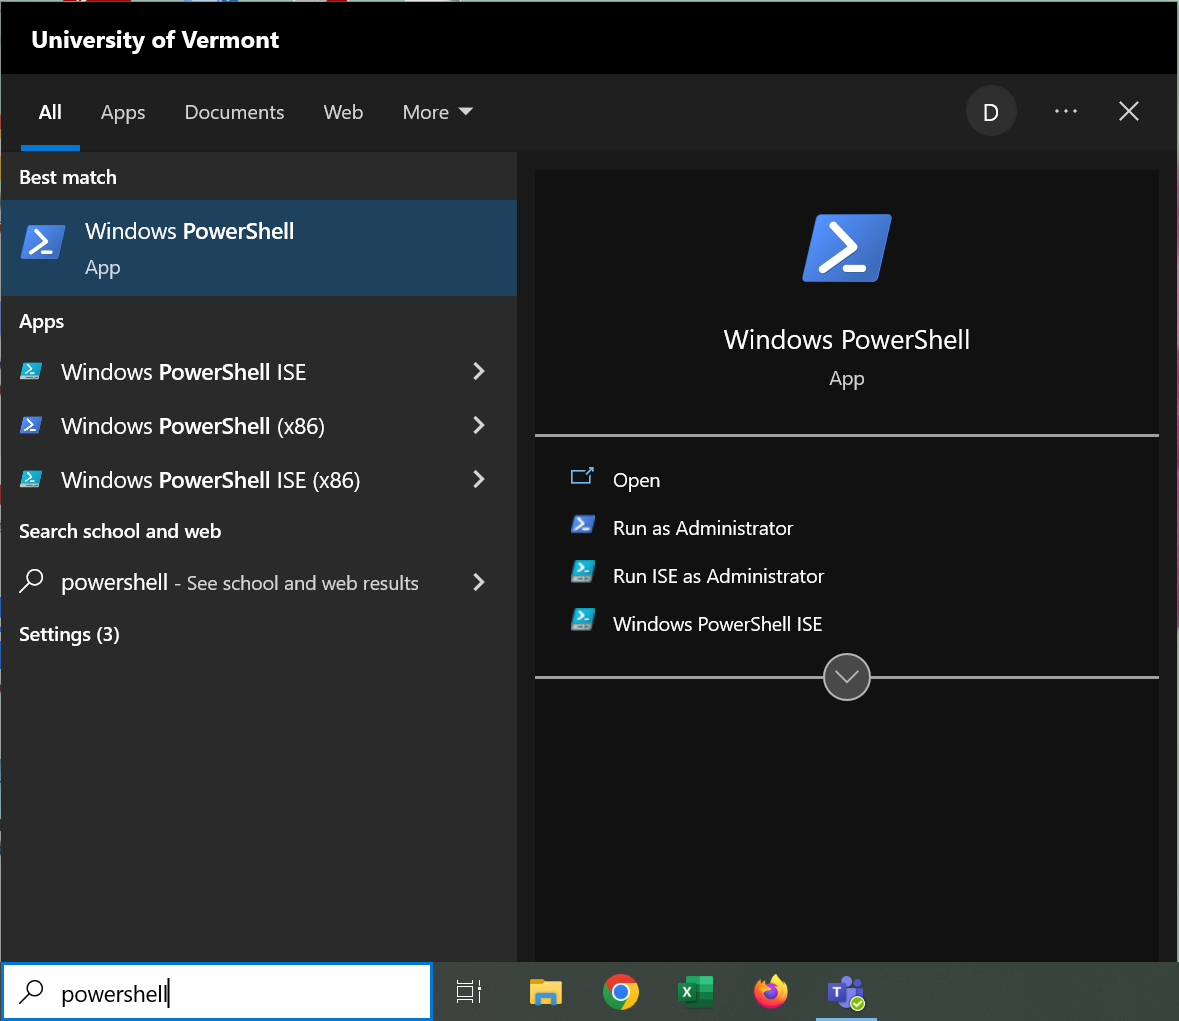
By default, PowerShell will display a prompt consisting of the abbreviation “PS”, the path to the current directory, and a “>” symbol. At this prompt you will enter a few commands.
You can navigate your file system (if you wish) using the cd or Set-Location command. cd is the legacy command for changing directory (hence the abbreviation cd. The newer style PowerShell command is Set-Location. For our purposes these are synonymous. For help, type help cd or help Set-Location at the PowerShell prompt.
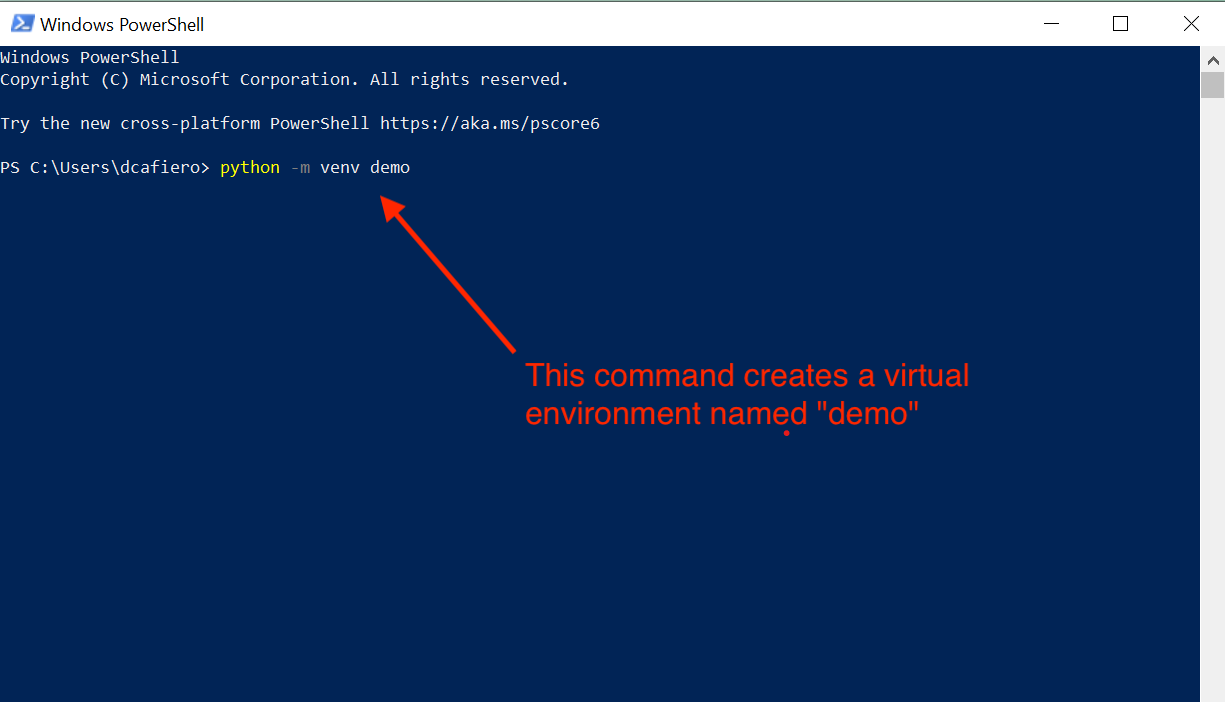
2. Create a virtual environment
A virtual environment includes a copy of the Python interpreter, a few scripts for “activating” and “deactivating” the environment, a few utility programs (e.g., pip) and directories containing modules you’ve installed to use with Python.
Consider what you want to call your virtual environment. In the examples shown here, we’ll call it demo:
PS C:\your\path\here > python -m venv demoand press the enter key. Again, wait for this command to complete before continuing. Please note, when installing this your PowerShell with give different output as I have already downloaded virtualenv.
This should work on most Windows machines. However, if it does not, please see the appendix on installing virtualenv below.
What if venv isn’t available?
If venv is not available, this means either you have a version of Python older than 3.3 or that your installation of Python is broken. If you encounter errors with the above, upgrade or reinstall Python.
3. Activate your virtual environment
PS C:\your\path\here > .\demo\Scripts\activate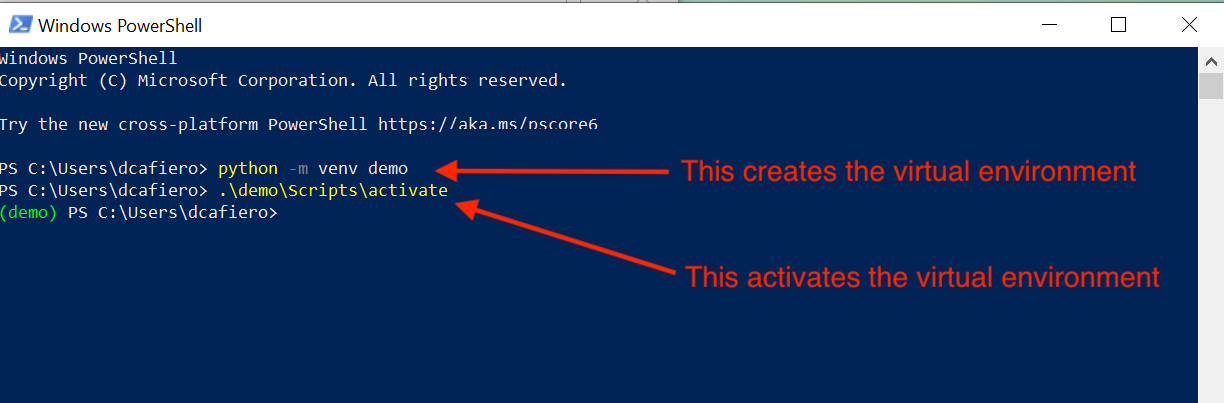
You should now see “demo” appear, prefixed before the rest of the prompt. This indicates that the “demo” virtual environment is active. Now, when you install modules and run IDLE, the version of Python installed to your virtual environment will be used (rather than the system-installed Python).
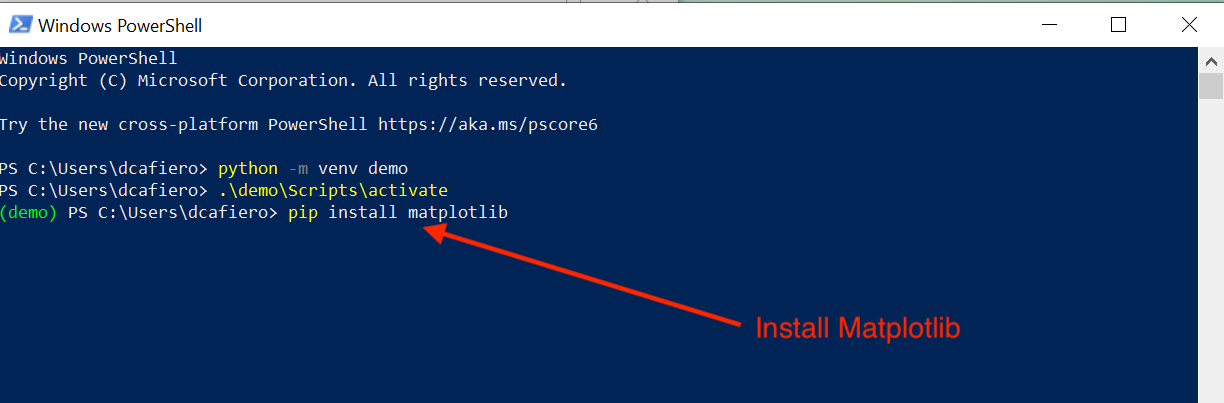
4. Install Matplotlib
pip install matplotlibThis step might take a few seconds to complete.
At this point, you should have Matplotlib installed to your virtual environment.
You can verify this by running Python, and attempting to import matplotlib from within the Python shell.
PS C:\your\path\here > python
>>> import matplotlib
5. Launch IDLE
Now, you can launch IDLE, so that it runs Python and has access to the matplotlib module in your virtual environment.
python -m idlelib.idle 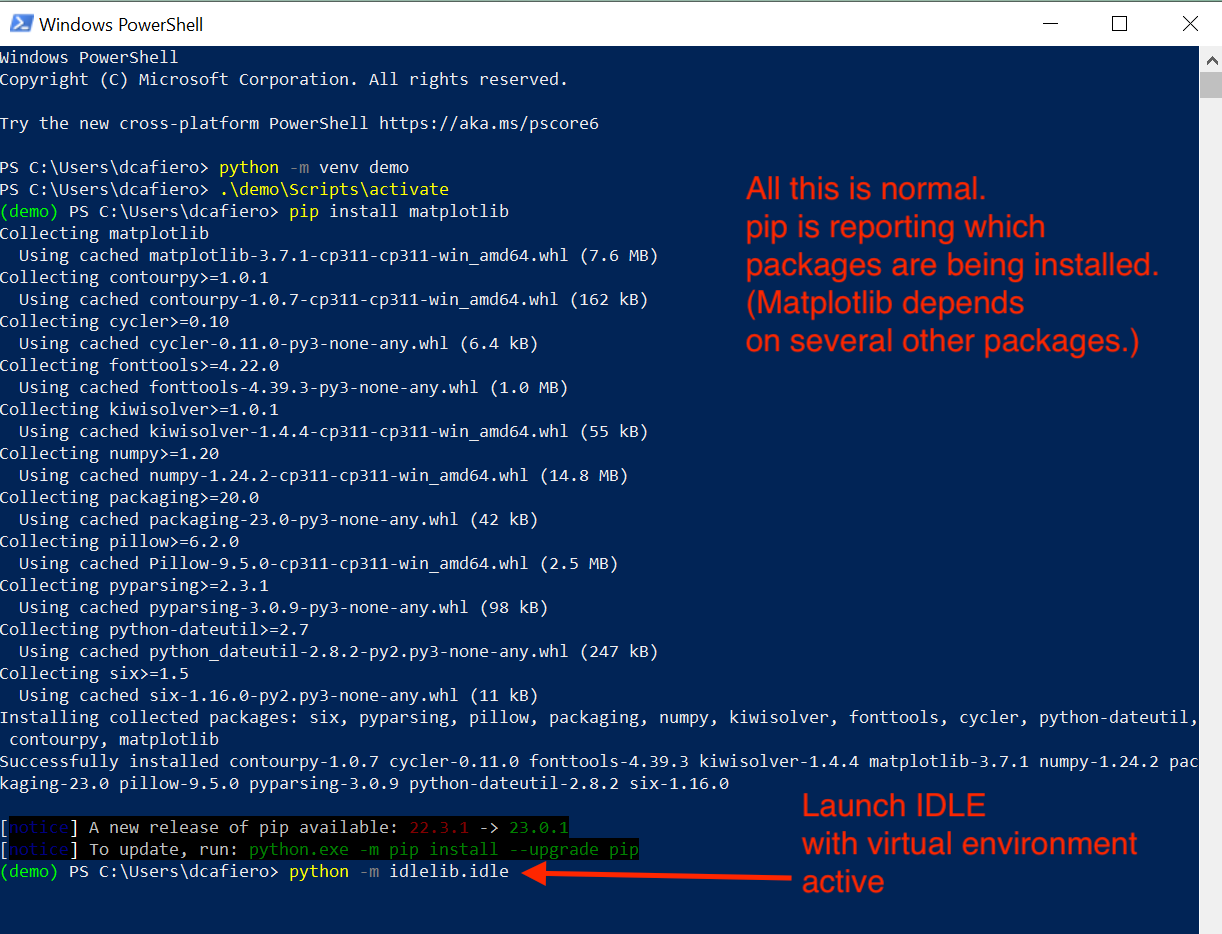
Try importing matplotlib.
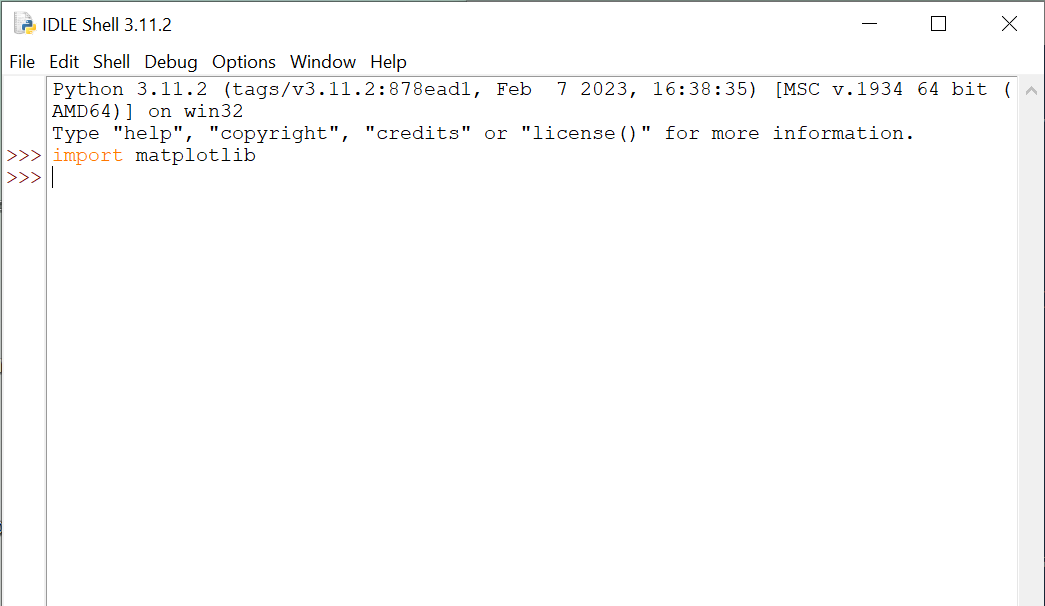
If you can import matplotlib and use it within a program (or shell), then you’re all set!
Try running this program:
import matplotlib.pyplot as plt

plt.plot([])
plt.ylabel('y')
plt.xlabel('x')
plt.show()
You should see a plot like this:

6. Using your virtual environment with IDLE
Whenever you wish to use IDLE with your virtual environment (i.e. so you can use modules you’ve installed there), follow these steps:
Whenever you want to run a program that uses and imports matplotlib you will need to open it through powershell. Once you successfully set up IDLE with matplotlib it will not take as long to open IDLE in the future. Follow these steps to open IDLE.
Launch PowerShell (follow instructions above)
Activate your virtual environment
Verify your virtual environment is active
Launch IDLE
python -m idlelib.idleCopyright © 2023–2025 Clayton Cafiero
No generative AI was used in producing this material. This was written the old-fashioned way.