
Screencasting lectures and other instructional activities can be a valuable teaching tool for remote instruction. UVM has a license for ScreenPal, which is available to faculty and staff only.
Download & Install ScreenPal
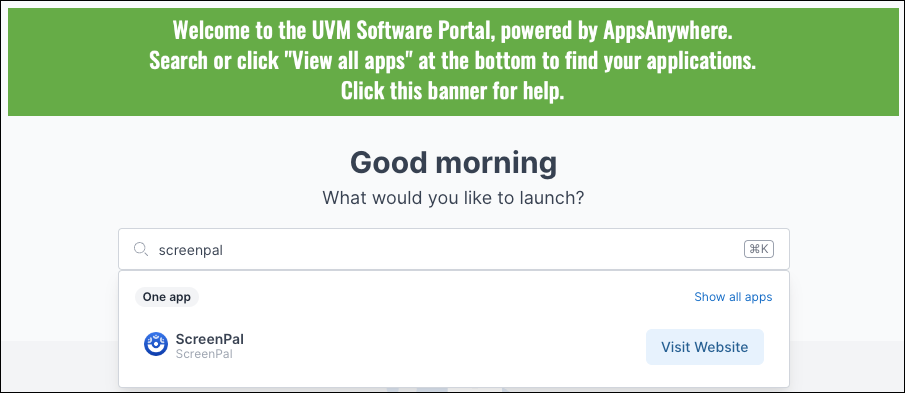
Faculty and staff can download ScreenPal from the UVM Software Portal. The UVM Software Portal uses AppsAnywhere, which you will need to download to your computer before being able to download ScreenPal. Once you have downloaded AppsAnywhere, search on the UVM Software Portal page for ScreenPal.
Install the software package:
- Windows: Run the downloaded installer .exe
- Mac: Open the downloaded .dmg and drag the ScreenPal app to the Applications folder.
Launch
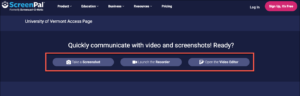
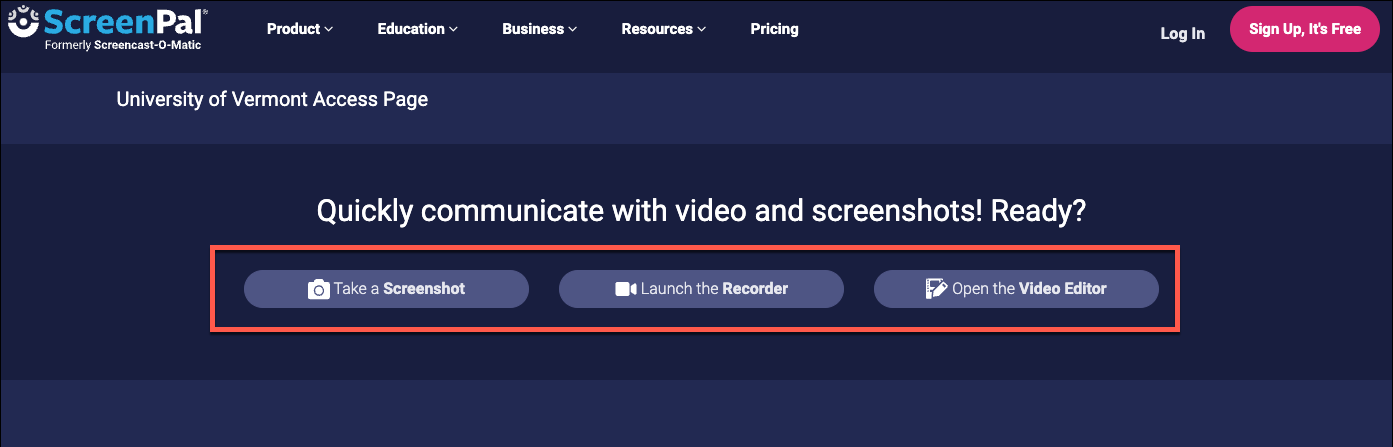
- Open the installed ScreenPal application and click one of the three action buttons to launch.
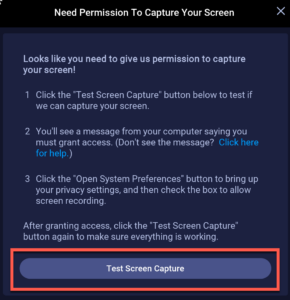
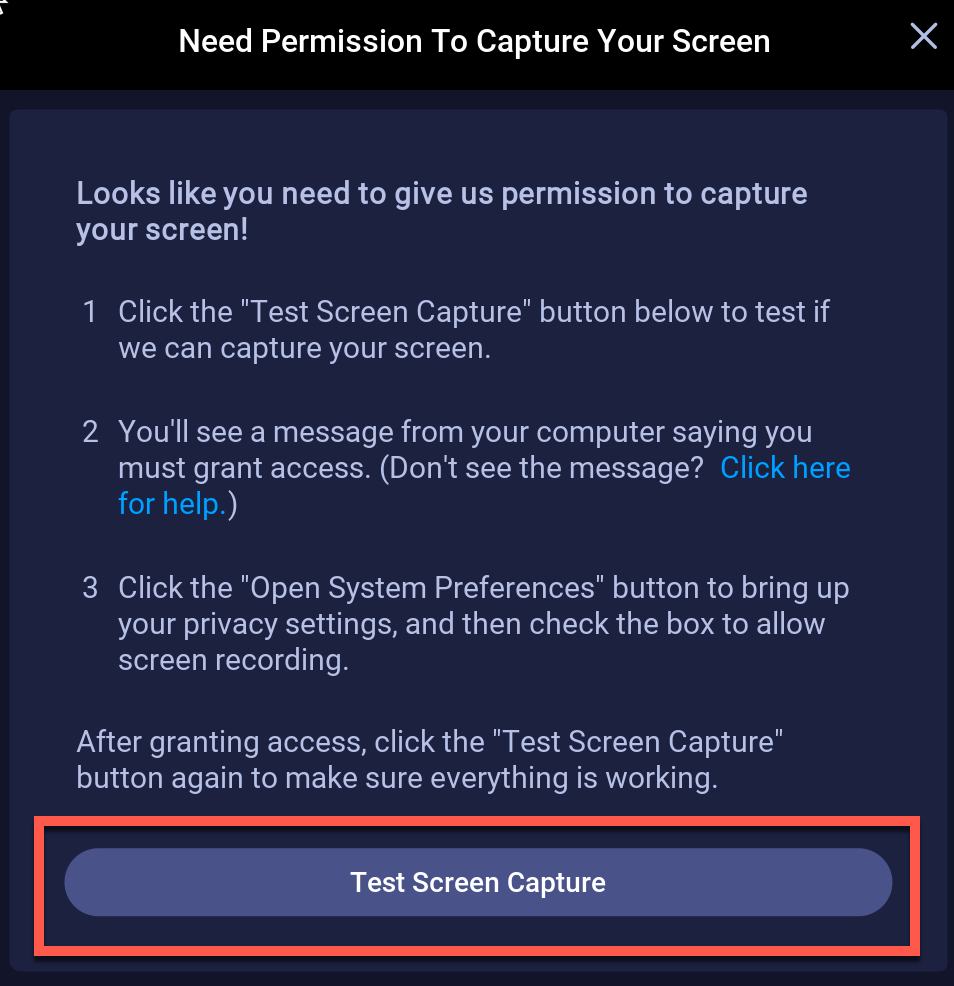
- Now you’re almost ready to roll camera. Before recording your first screencast, you may need to make a few permissions changes to allow ScreenPal to access your camera and microphone. Click the Test Screen Capture button to be guided through this process.
Manually Allowing Camera & Microphone Access (optional)
While ScreenPal will walk you through the steps to allow camera and microphone access when you launch the application, you can also do this manually if needed.
MacOS Sonoma
Due to security/privacy restrictions in MacOS, you may need to specifically allow ScreenPal to use your devices. The following steps outline how to manually allow ScreenPal access to your camera and microphone using MacOS Sonoma:
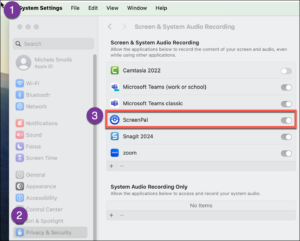
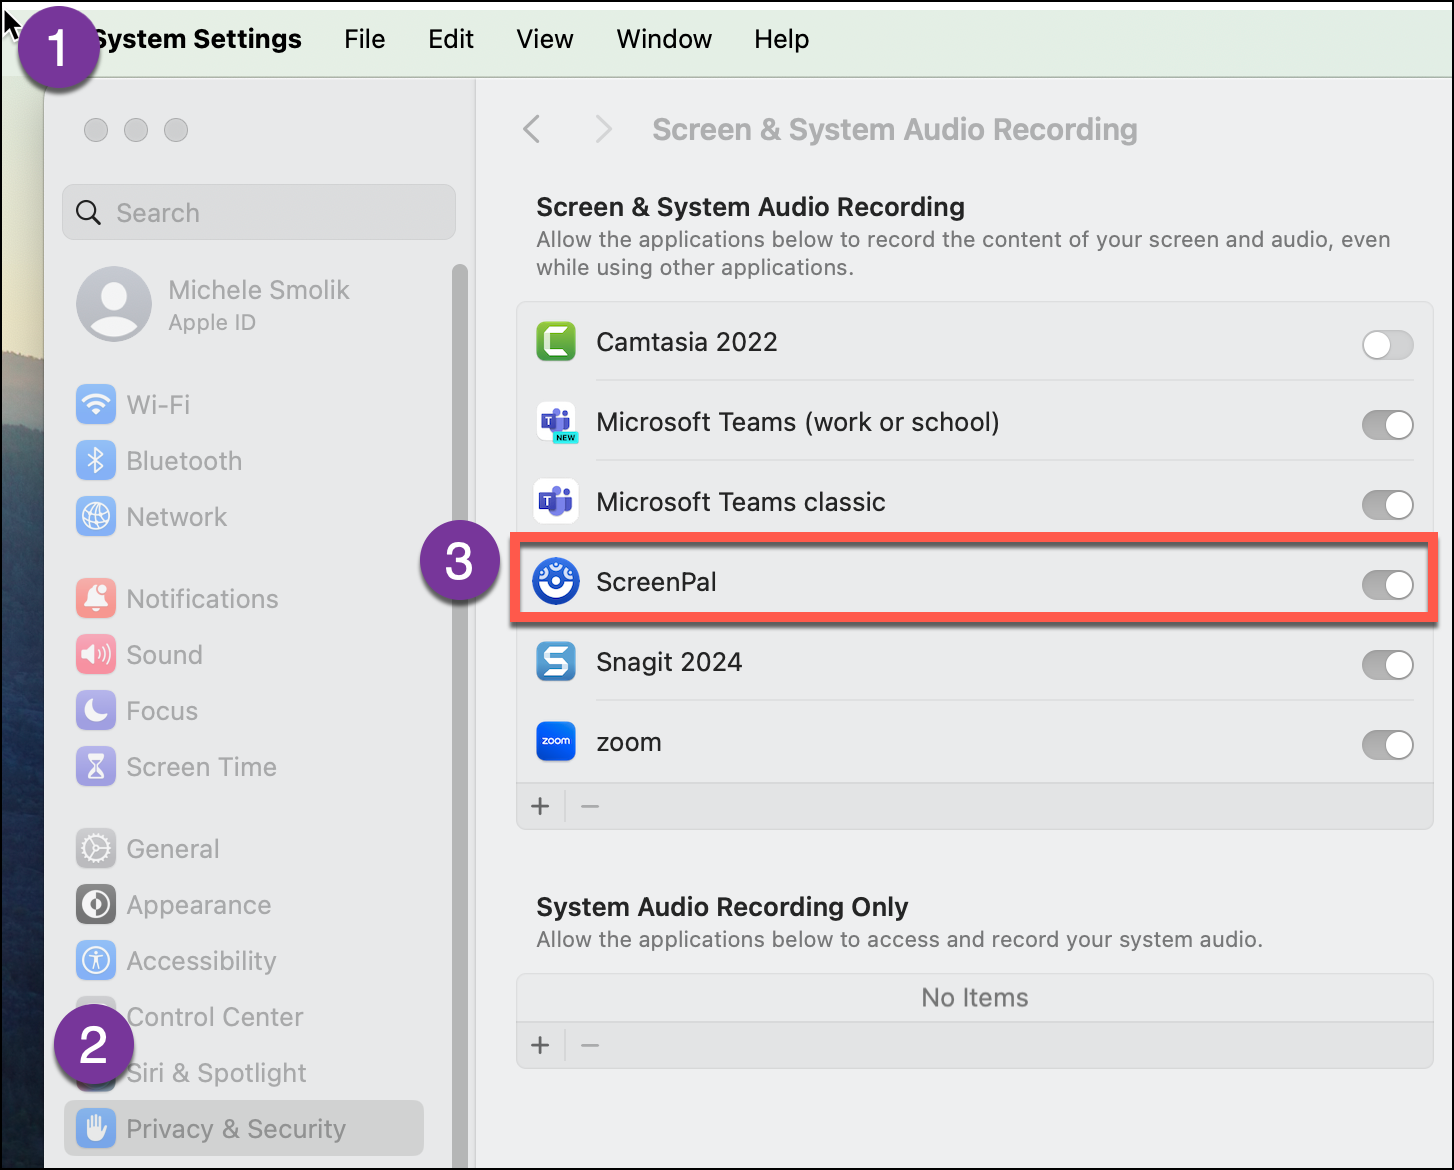
- Go to System Settings -> Privacy & Security -> Screen & System Audio Recording.
- Click the button next to ScreenPal to allow screen and system audio recording.
Windows
Recording audio in Windows can be done by enabling that setting in the ScreenPal recorder.
Record and Edit a Screencast
You are now ready to GET STARTED RECORDING a screencast.
Considerations for File Storage
Any kind of video/audio file is likely to have a large file size. With ScreenPal, you not only have the .mp4 file that you produce to share with others; you also have the original project file with all the video and audio components maintained in an editable format. If you’re doing a lot of screencasting, you may find that the files are taking up too much space on your computer’s hard drive. The solution is to take advantage of our cloud storage and put them on your UVM OneDrive account. You can keep all mp4s and project files online and then bring the current one you are working on to your computer. We recommend exporting compressed files to OneDrive cloud storage (or an external hard drive).