Creating a collaborative document using Microsoft Teams
Microsoft Teams offers the ability to create shared documents for students and collaborators to work on simultaneously. All of the common Microsoft document formats are supported (ie: Word, Excel, and Powerpoint).
In any Team’s Channel, click on Files in the menu at the top (next to Posts).
On the Files screen, you will see the option to either create a New document or Upload a file. Click the appropriate option to get started on your file. 
Working on a shared document in a Browser Window
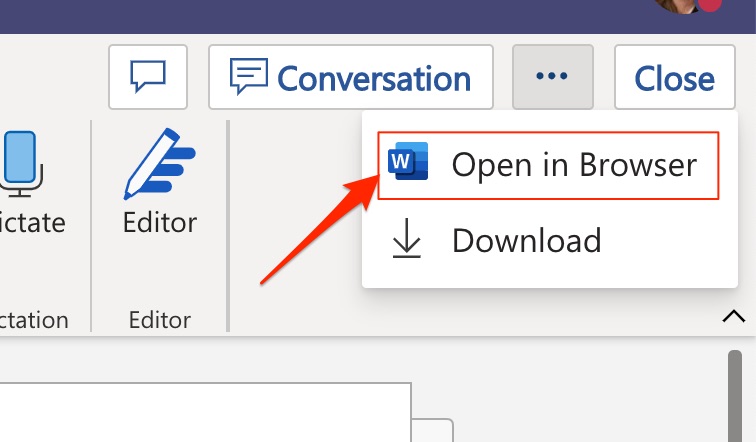
Once you have the document loaded in the Files of a Channel, the best way to work on it is to open it in a browser. Click on the ellipsis and select “open in browser.” This will open the document in your default web browser as a new window or tab. Multiple people can edit at the same time. The document will autosave when changes are made.
Viewing student contributions in a shared document
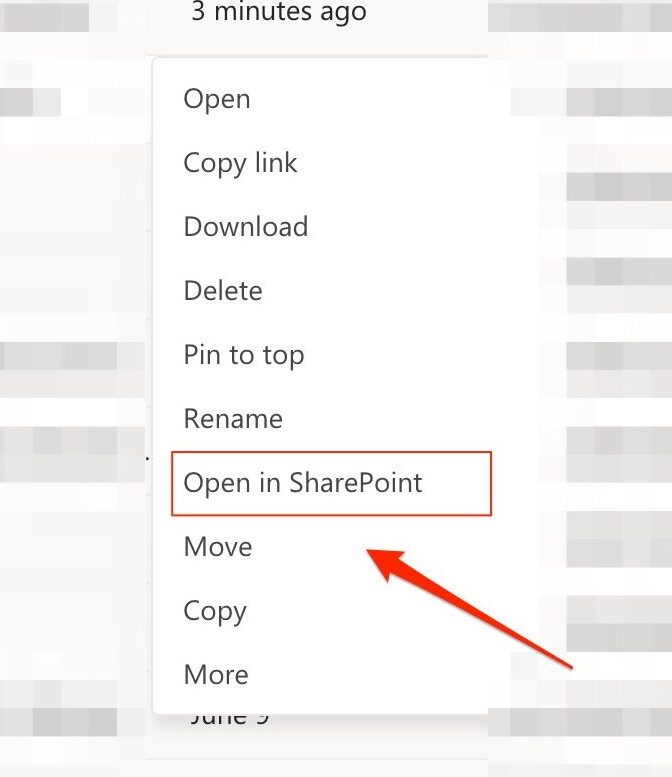
In order to view the version history of a shared file in Teams, you will need to go to the appropriate Channel and then the Files tab. Once you locate the document name in the list, click on the ellipsis to open the menu and choose “Open in Sharepoint.”
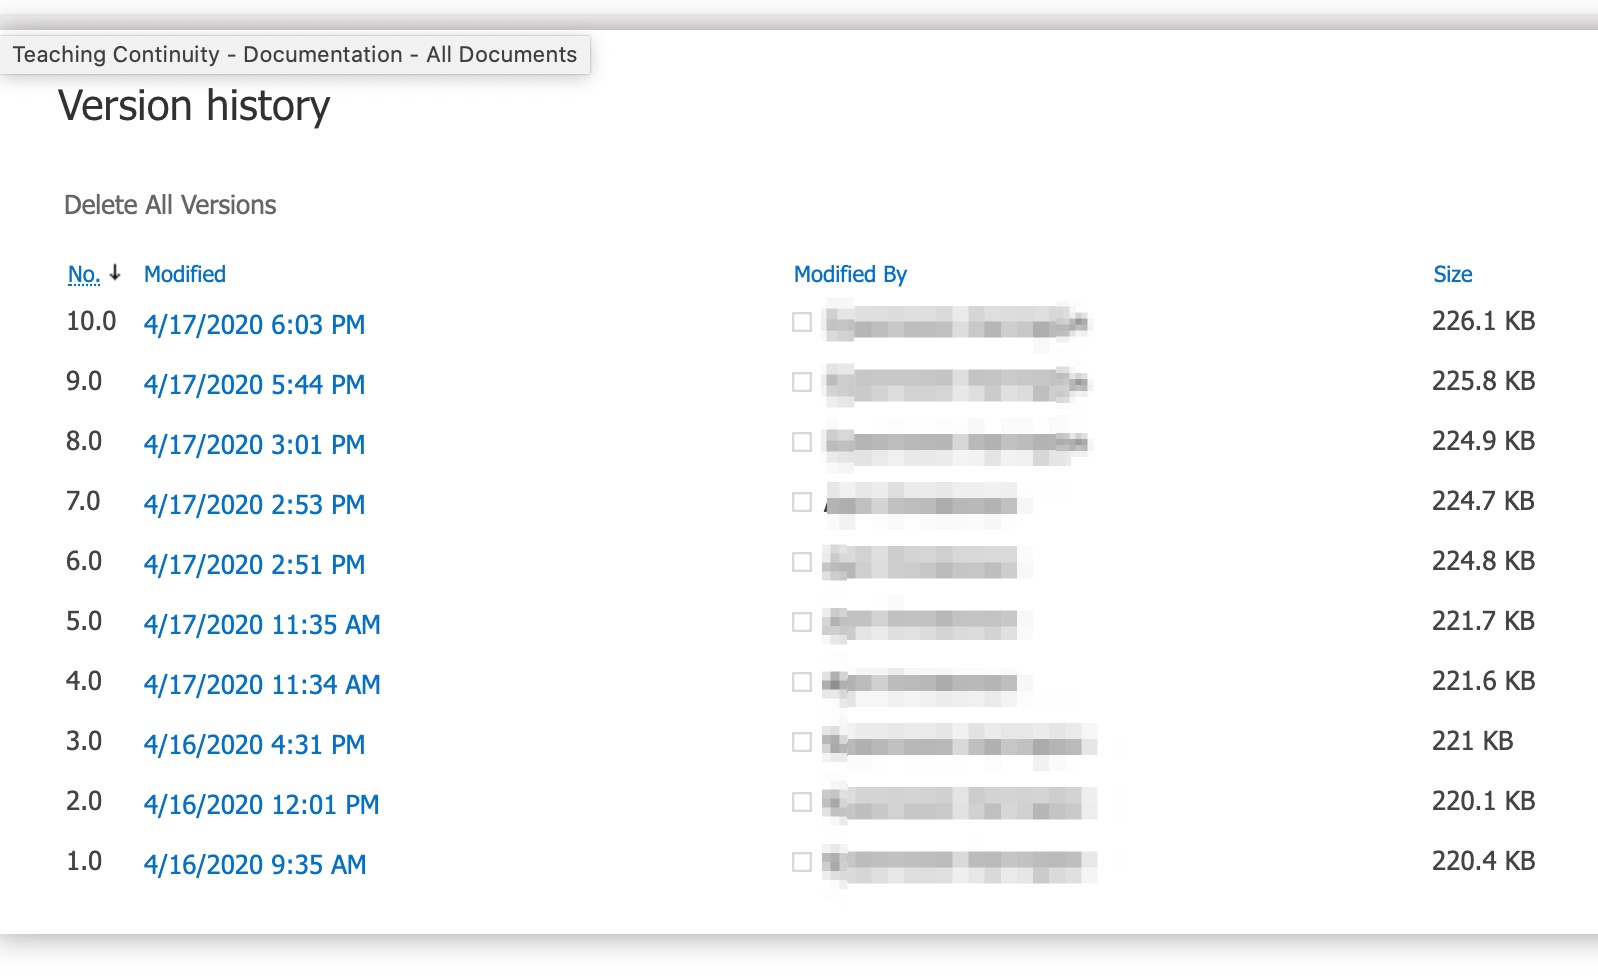
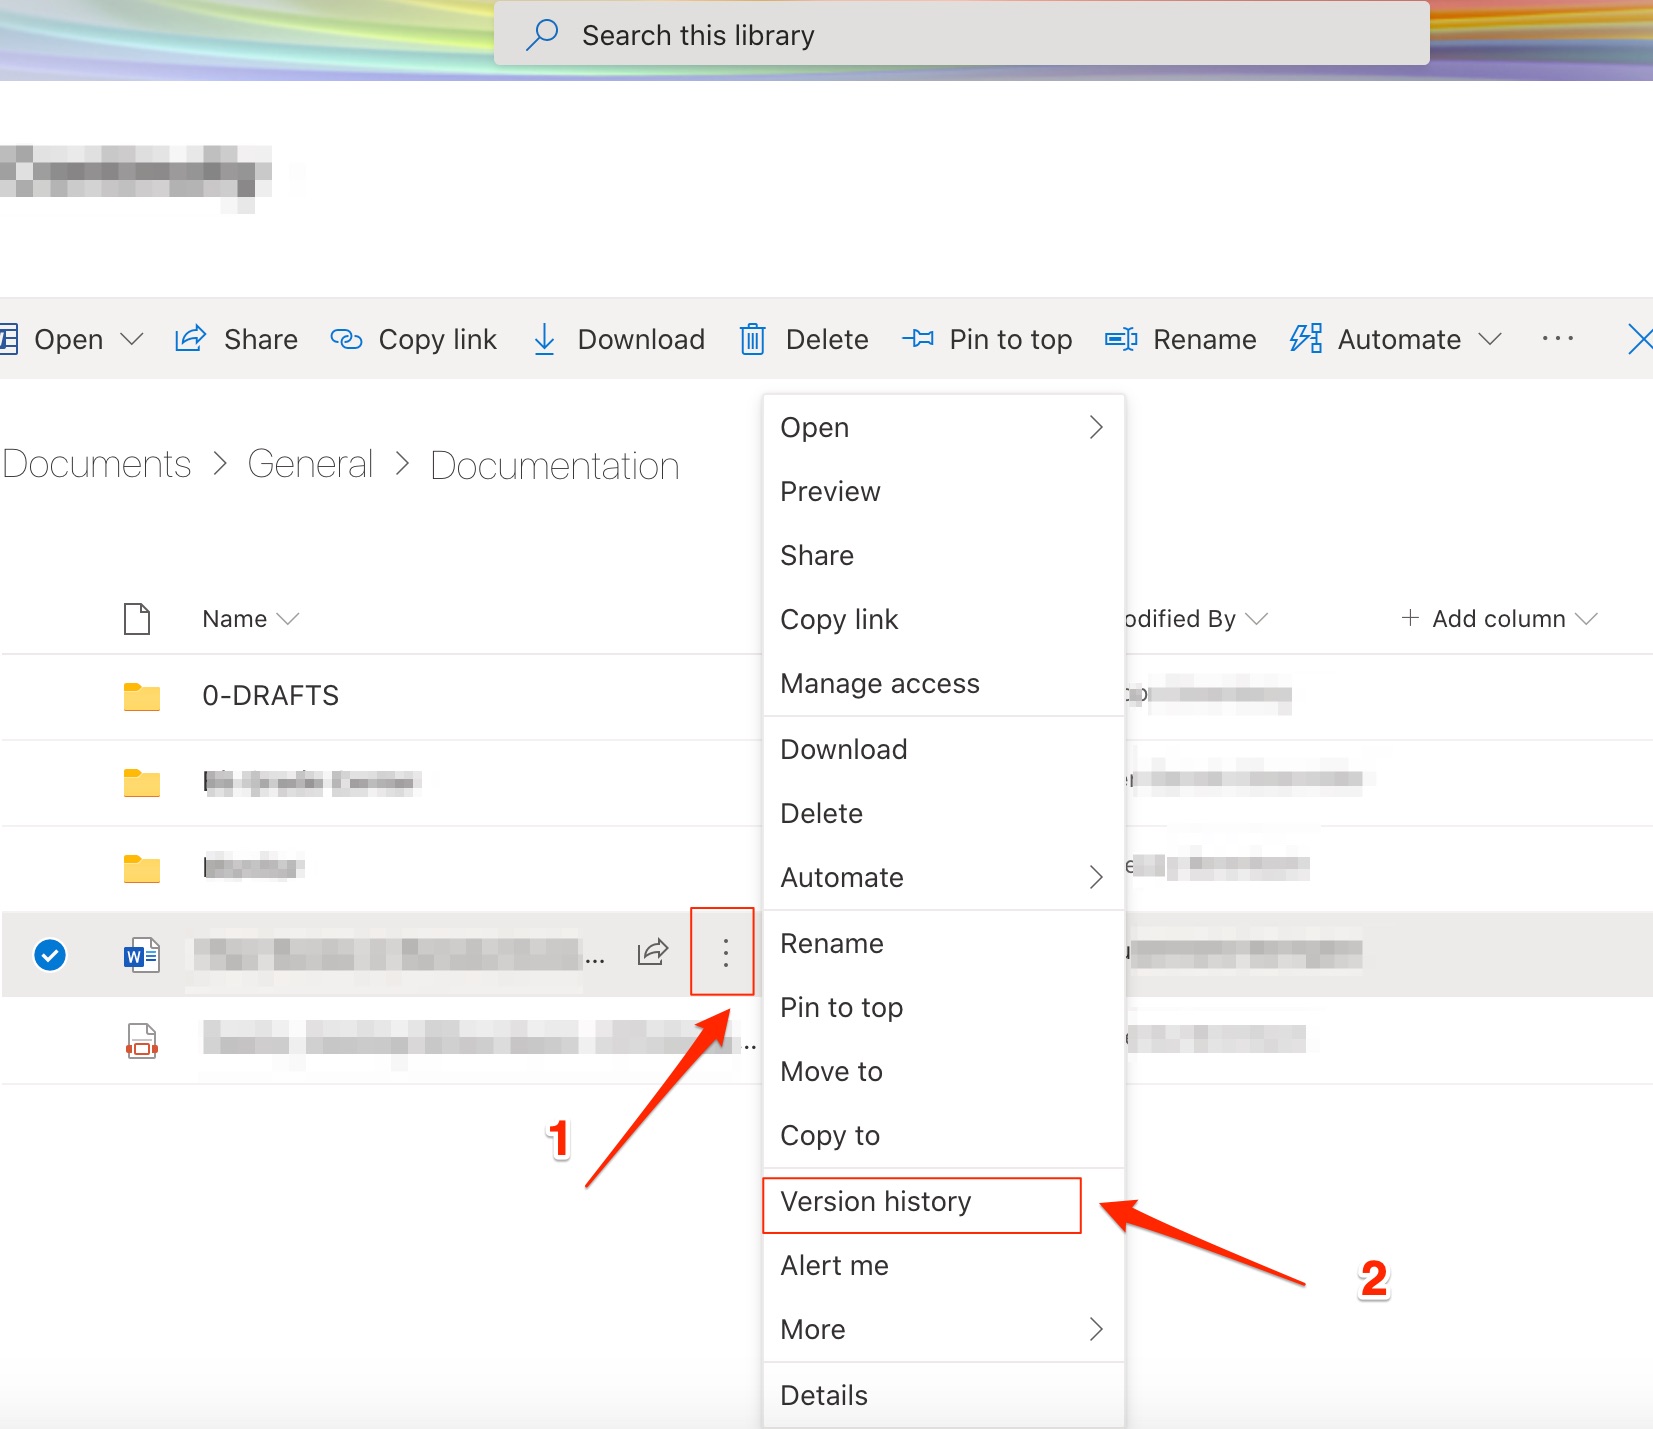
Once you have a view of the document listing in Sharepoint, click on the Ellipsis and select the file menu option for Version History.
The Version History window will generate a listing of the changes to the document by author, date and time.