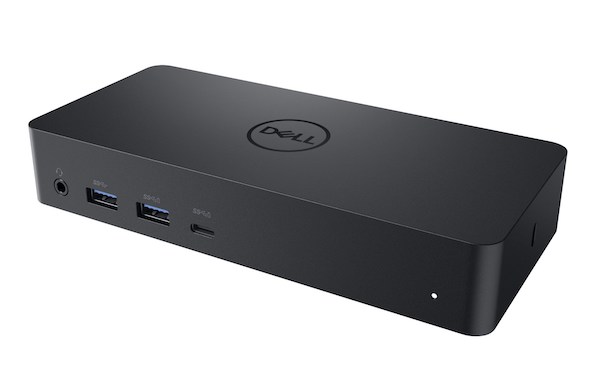
 The Dell D6000 docking station has been deployed to various classrooms around campus to allow instructors to connect their laptops to the various equipment required for remote and mixed teaching environments.
Most classrooms with the D6000 have been paired with the Wacom One Pen Display, projector and/or monitor.
The steps below will walk you through using the D6000 with your laptop.
Install Drivers
macOS
- Download and install displaylink drivers from: https://www.displaylink.com/downloads/macos
- Displaylink Manager is for 10.15 and up, you’ll find driver releases for previous versions of MacOS under Legacy Releases on the page above.
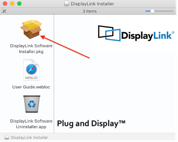
- Open your Downloads folder, locate and double click “Displaylink USB Graphics Software for MacOS 5.2.5.DMG” to mount the disk image on your desktop, double click “DisplayLink Software Installer.pkg” to start the install process.
- Click Continue, agree to the license agreement
- Select Macintosh HD and click Continue
- Click continue until “System Extension Blocked” appears (MacOS 10.14 and up), click “Open Security Preferences”
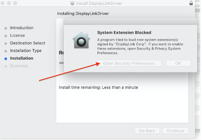
- Unlock the padlock

- click “Allow” next to “System software from developer “DisplayLink Corp” was blocked from loading”

- Quit System Preferences
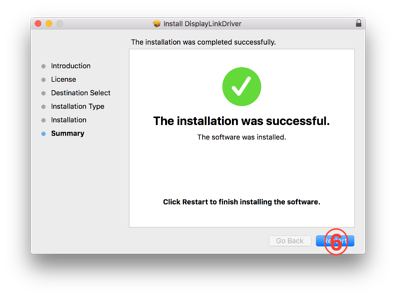
- Return to the installer window and click “Restart”
Windows
- When the Dell D6000 is connected to a Windows laptop that is on the Internet, the proper drivers should be automatically downloaded and installed.
- Should that not happen, the Dell drivers can be found here: https://www.dell.com/support/home/en-us/product-support/product/dell-universal-dock-d6000/drivers
Connecting a laptop to the dock
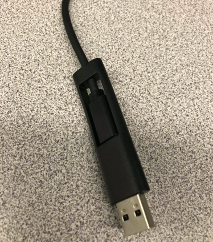
- On laptops with USB C ports or Thunderbolt 3, remove the USB A adapter from the end of the D6000 fixed cable and insert into the proper port. The D6000 can provide up to 65 watts of charging power through its USB C connector.
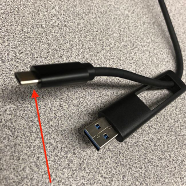
- On laptops without USB C ports, replace the USB A adapter on the end of the fixed cable and insert in the proper port. The USB A adapter does not provide charging power, so the user should connect their own charger to the laptop as well.