Groups in Brightspace
Brightspace groups are useful for a variety of reasons, you may wish to
-
- have students submit a group project for a group grade.
- group students for class discussions on the discussion board.
- with class-wide prompts or group-specific prompts
- create individual groups for journals.
- limit views in Grades based upon groups.
- limit student access to Content & Activities, Assignments, Discussions, and Quizzes.
You can include group assignments, lockers, or discussions as part of the group setup. See the Additional Options settings below.
Students can be a member of multiple groups in a course.
For more information about groups, please see Brightspace Documentation.
Create a Group
Create a Category
Creating a Category
Navigate to “Course Tools” on the Brightspace menu, select “Groups” to open the Manage Groups dashboard. Select “New Category“.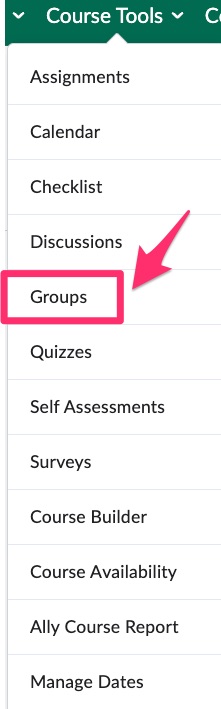
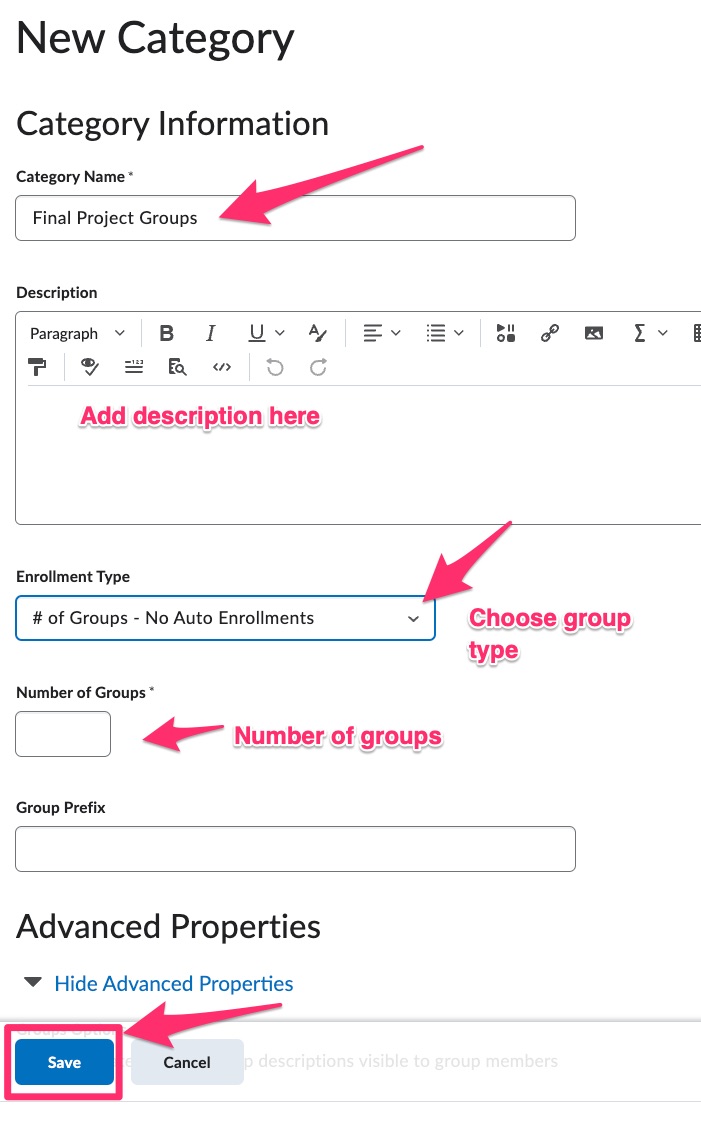
Use the “Category name” box to type in a name for the groups. You can also add a description for the groups. In addition, there are a number of options for “Enrollment Types.” (see: enrollment types described below.)
Group Settings
Enrollment types with description
-
-
- # of Groups – No Auto Enrollments – set the number of groups, and the instructor will manually assign students
- Groups of # – set the group capacity, i.e. “groups of 4”
- # of Groups – set a group limit, i.e. “7 groups total”
- Groups of # – Self Enrollment – set the group capacity and allow students to self-enroll
- # of Groups, Capacity of # – Self Enrollment – set the group capacity and number of groups, and allow students to self-enroll
- Single user, member-specific groups – set up groups of 1
-
Depending on which Enrollment Type you chose, you will have fields to fill in regarding the number of groups, number of users, and other enrollment-related options.
The Brightspace Community site offers more explanation of the group types. (Click here to open the Community page)
The Self Enrollment Options are further described on the Brightspace Community site. (Click here to option the Community page.)
To modify group enrollments check out this quick 2 minute video.
Additional Options for Groups
-
-
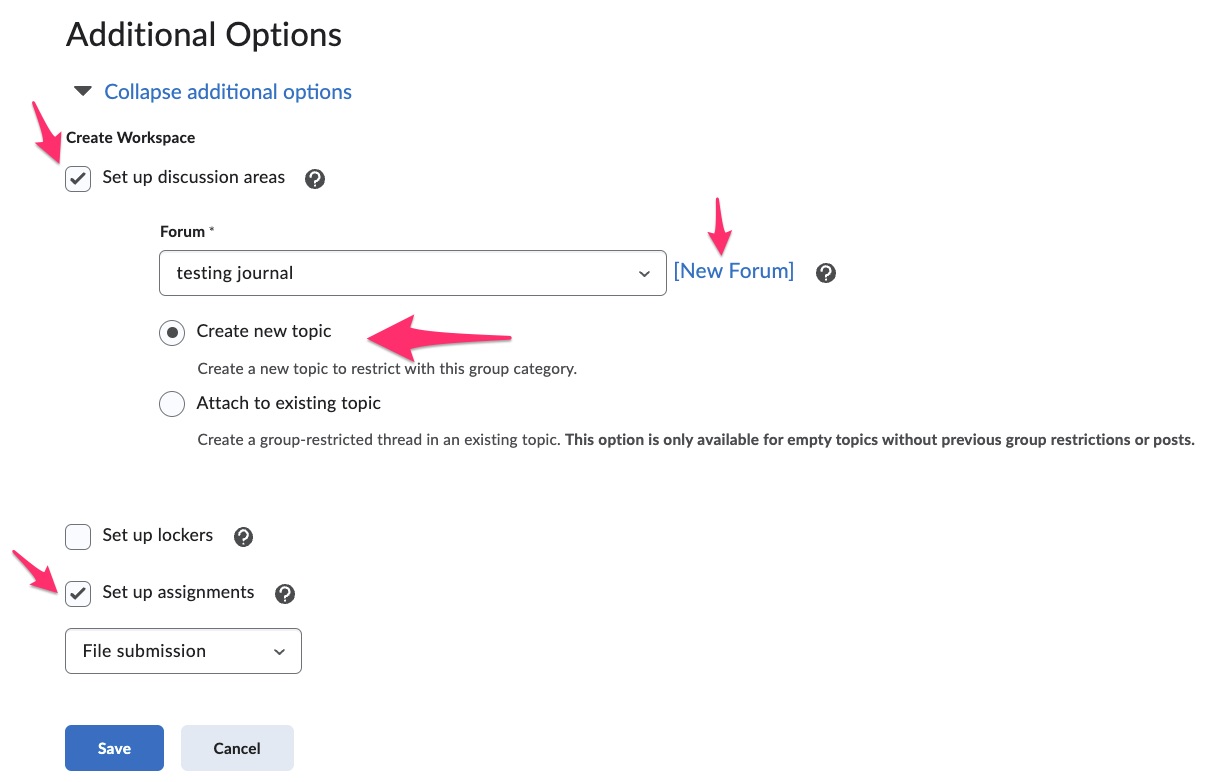
- Set up discussion areas for the groups – When you select this option, Brightspace will set up a Discussion Forum and topic that only group members can use. The instructor will be able to view and participate in all of the group discussions.
- Set up lockers – (more on lockers coming soon.)
- Set up group assignments – This option allows you to immediately create an Assignment associated with the group. There can be one group submission or an individual submission for grading.
-
Viewing Group Enrollments
There are several ways to view student enrollment in groups through Groups or Classlist.
Options
OPTION 1:
-
-
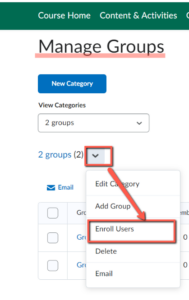
- Go to Course Tools > Groups > From the context menu next to the group category name, select “Enroll Users” to see the list of groups they are enrolled in.
-

OPTION 2:
-
-
- You can view an individual student’s group enrollment through the Classlist.
- Go to Grades & Feedback > Classlist > From the context menu next to the student name, select “View Group Enrollments” to see the list of groups they are enrolled in.
-
Students Access to Groups
There are several ways you can give students access to view their groups course content, Announcements, Groups, and Classlist.
Options
Groups:
-
-
- Go to Course Tools > Groups
-
Classlist:
-
-
- Students can view the groups from the Classlist.
- Go to the Classlist and click on the dropdown menu next to their name.
- Select “View Group Enrollments” to see the list of groups they are enrolled in.
-
Restricting Access
Limit Student views and access through Release Conditions
Limit access to content or assessment to a particular group.
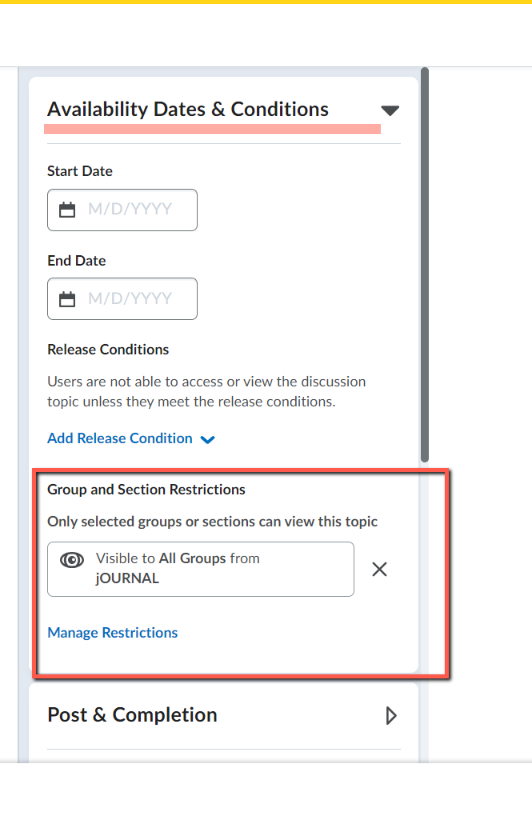
For Assessments (Assignments, Quizzes, or Discussions)
Go to Course Tools > Assessment > Edit > Availability Dates & Completion: Release Conditions
For Instructors and Teaching Assistants
To limit the views to group/section, go to assignments, discussions, and grades through the tools. This allows you to view submissions, assess topics, evaluate, or grade limited to
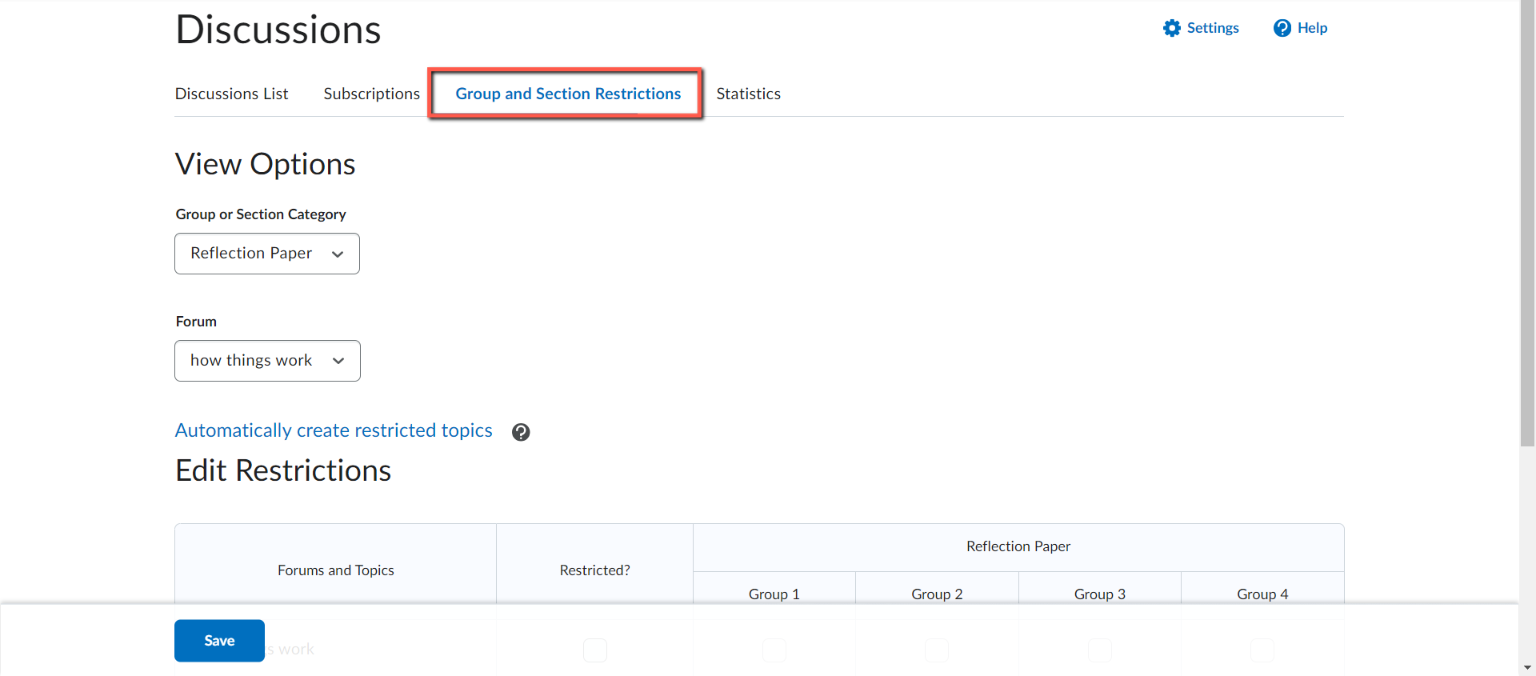
In the Discussion Tool
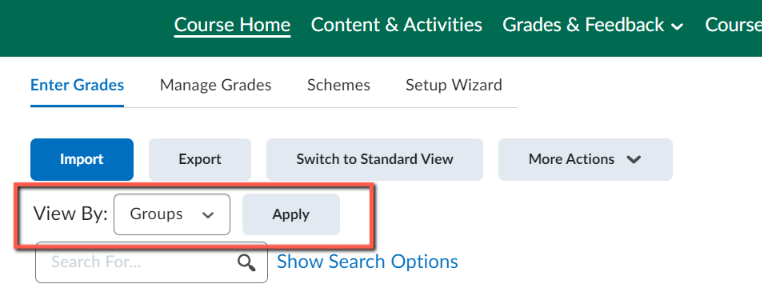
In Grades
View by users/groups/sections
Group Assignments
Any member of a group can submit files to a group folder. Group members may be given a common grade.
For Instructors and Teaching Assistants
Create
Go to the Assignment Tool > New Assignment > Submission & Completion > Select group assignment.
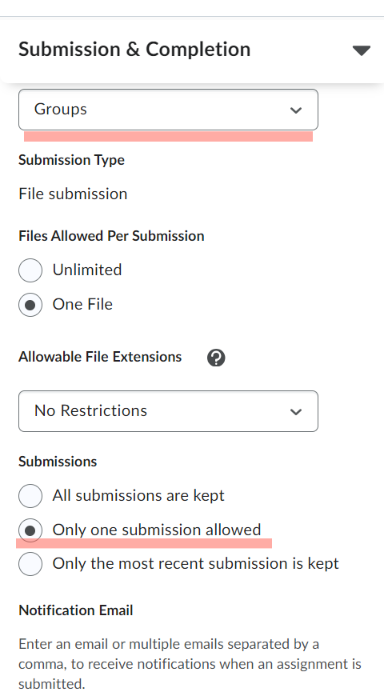
Grading Groups
For the entire group
Grade through the Assignment/Discussion tool. Grade each group as you would an individual–all members of the group earn that score.
Individually
Override in the Grades tool for individuals if someone deserves something different than the rest of the group.
For Students
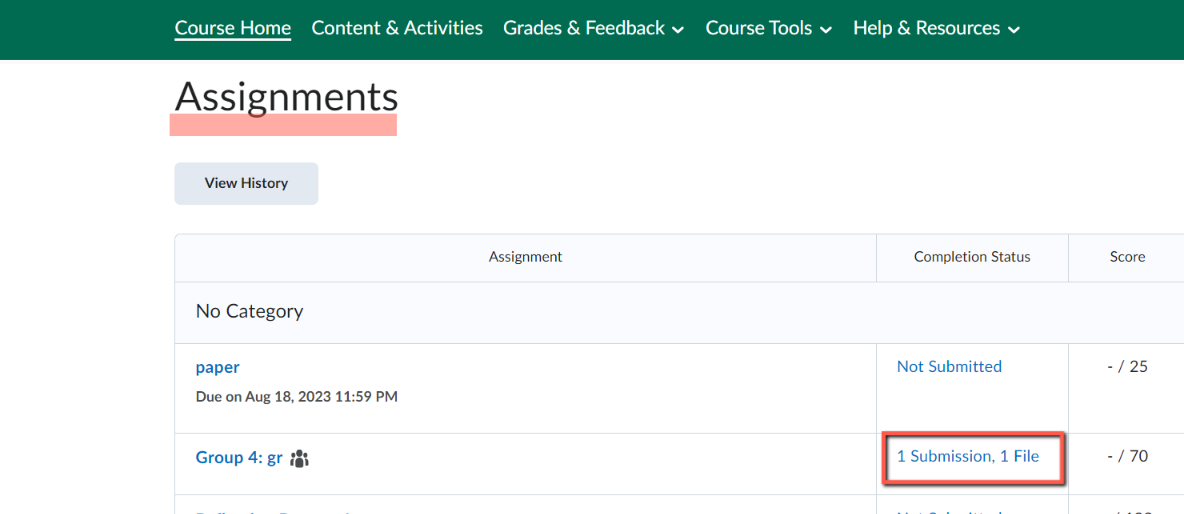
To Submit a Group Assignment
Go to Course Tools > Assignment > Select the assignment
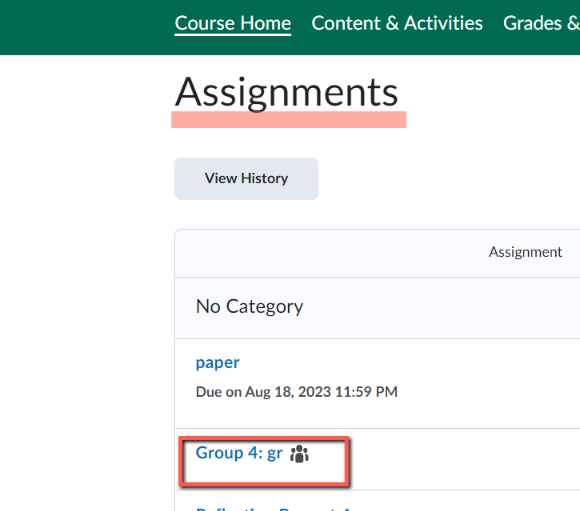
To view submissions & feedback
Students are able to view submissions & feedback through Assignments, Groups, and Class Progress.
Go to Course Tools > Assignment > Submissions