These instructions are for adding another NetID account’s calendar to your desktop Outlook or Outlook on the web. If you require additional access to another person’s calendar or you are using a macOS computer, the owner of that calendar may need to grant you Delegate Access – please see our dedicated guide on Delegate Access.
Outlook on the web
- Navigate to Outlook on the web.
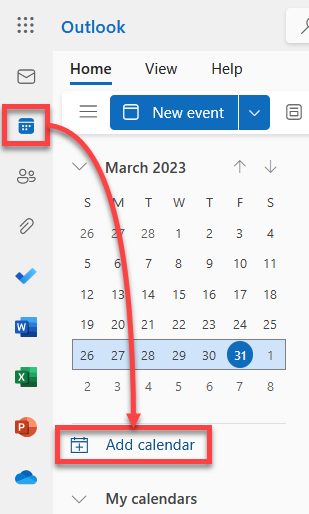
- Click the Calendar icon near the upper left corner to open the calendar tab, and then click Add calendar.

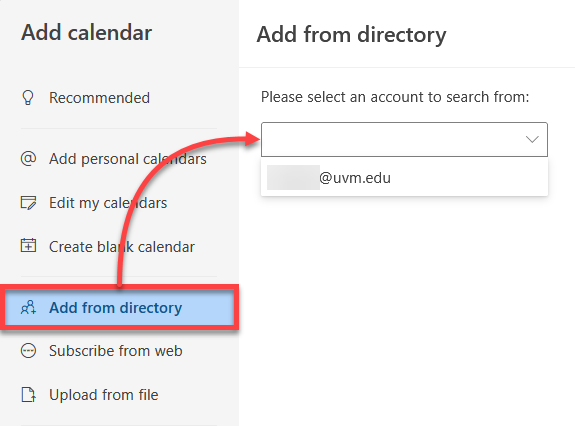
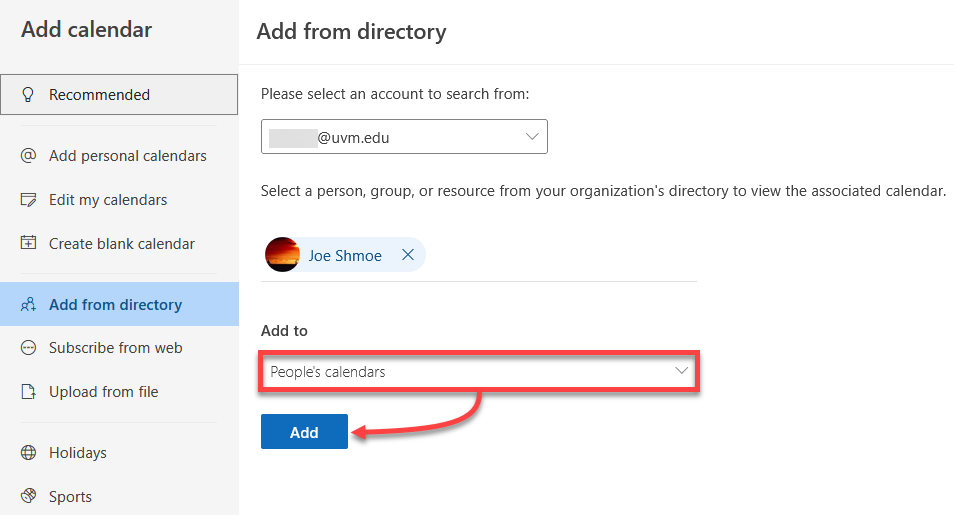
- In the window that pops up, click Add from directory, and then select your UVM account from the drop-down menu.

- Search for the calendar owner’s NetID or name, and then click their entry to select it.
- Use the drop-down menu to select which section you’d like the calendar to appear under, and then click Add.

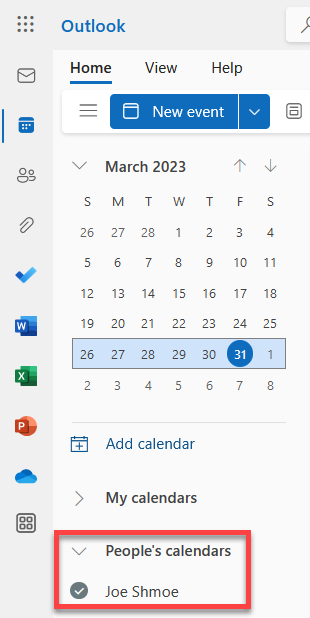
- The calendar should now appear in the chosen section along the left side of the screen.


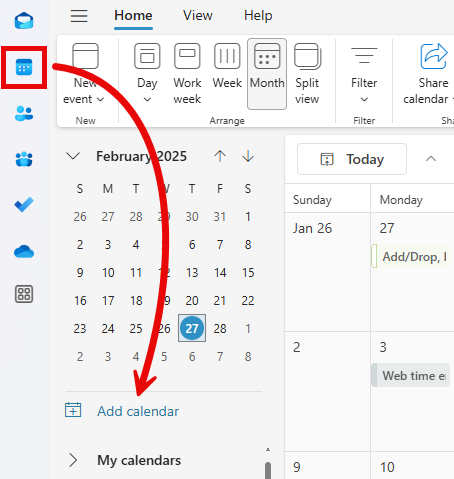
Outlook (new) on Windows
- From the Calendar view, click Add Calendar.
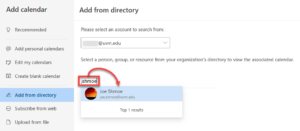
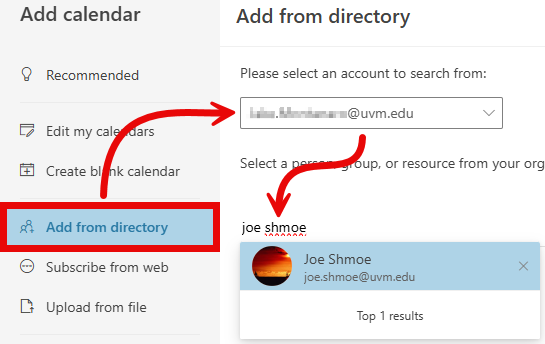
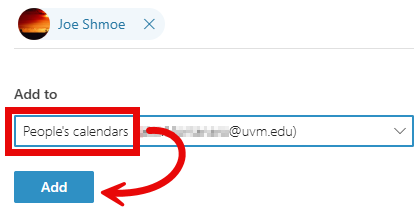
- Click Add from directory, select your own email address from the account to search from drop-down menu, search for the calendar owner’s NetID or name (“Joe Shmoe” in this example), and select it from the search results.
- Select the calendar group to Add to (“People’s calendars” in this example), and then click Add.
- You should now see this calendar in the left side menu under the calendar group you selected above.
Microsoft Outlook on macOS
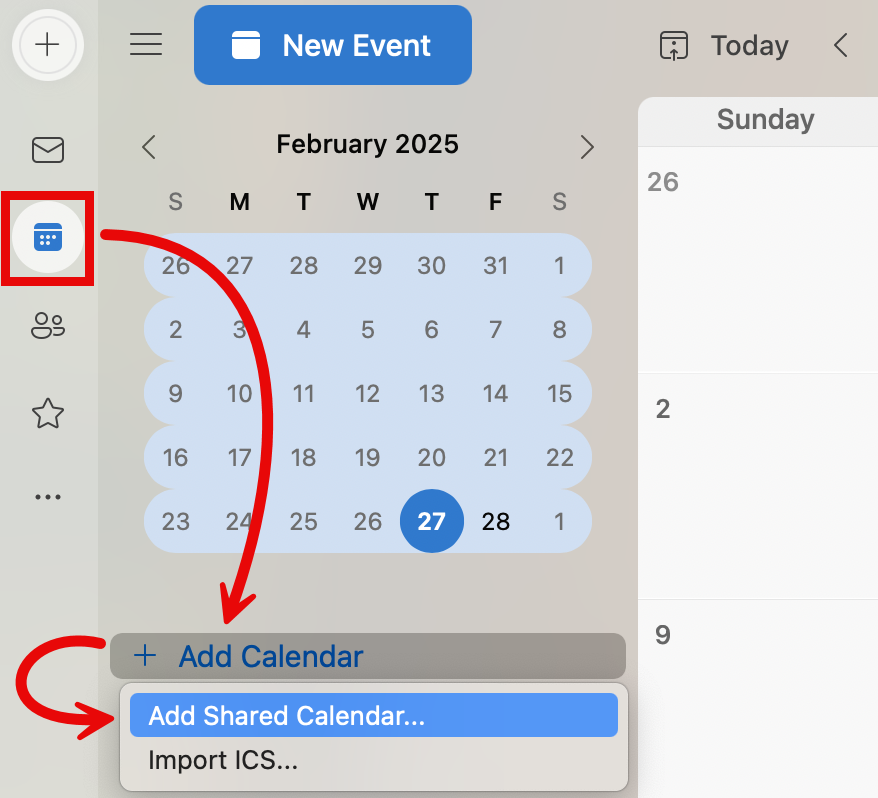
- From the Calendar view, click Add Calendar, and then select Add Shared Calendar….
- Search for the calendar owner’s NetID or name, select it from the search results, and then click Open.

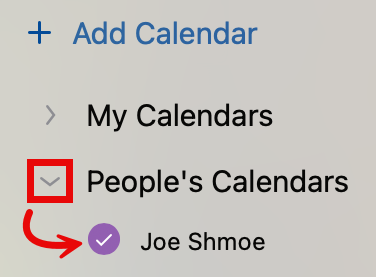
- You should now see this calendar in the left side menu. In my case, it showed up under my People’s Calendars calendar group.
Legacy Outlook on Windows
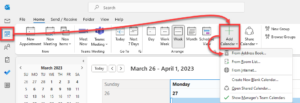
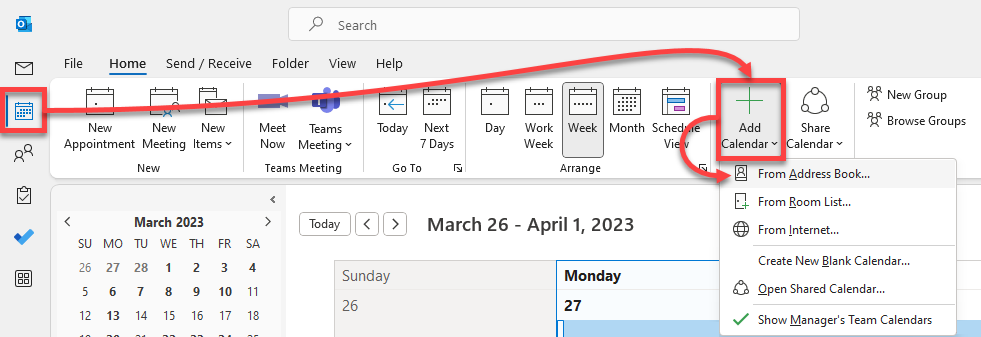
- From the Calendar view, click Add Calendar, and then select From Address Book.
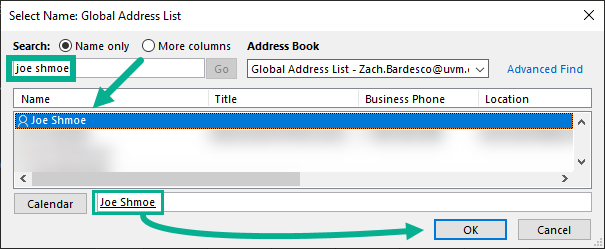
- Search for the calendar owner’s NetID or name, double-click their name, and then click Ok.
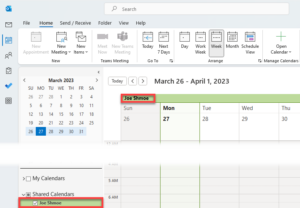
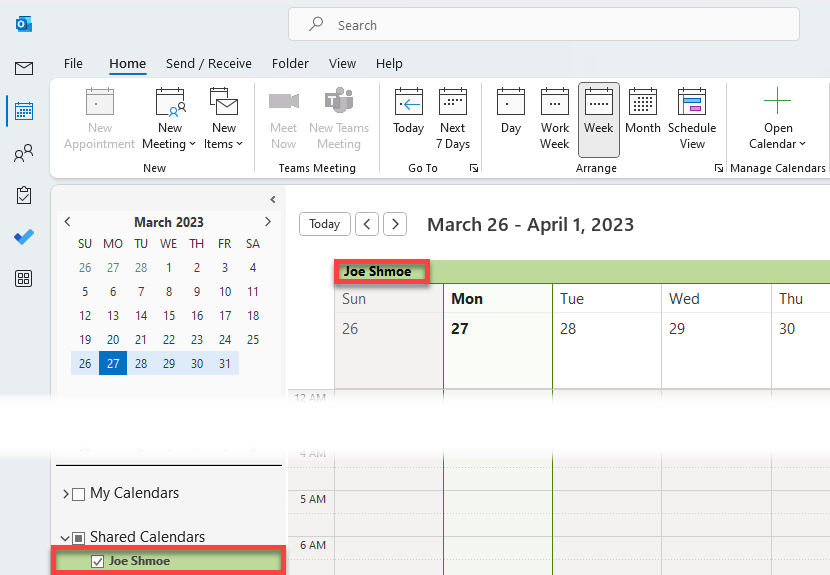
- You should now see this calendar in the left side menu under Shared Calendars.

Legacy Outlook on macOS
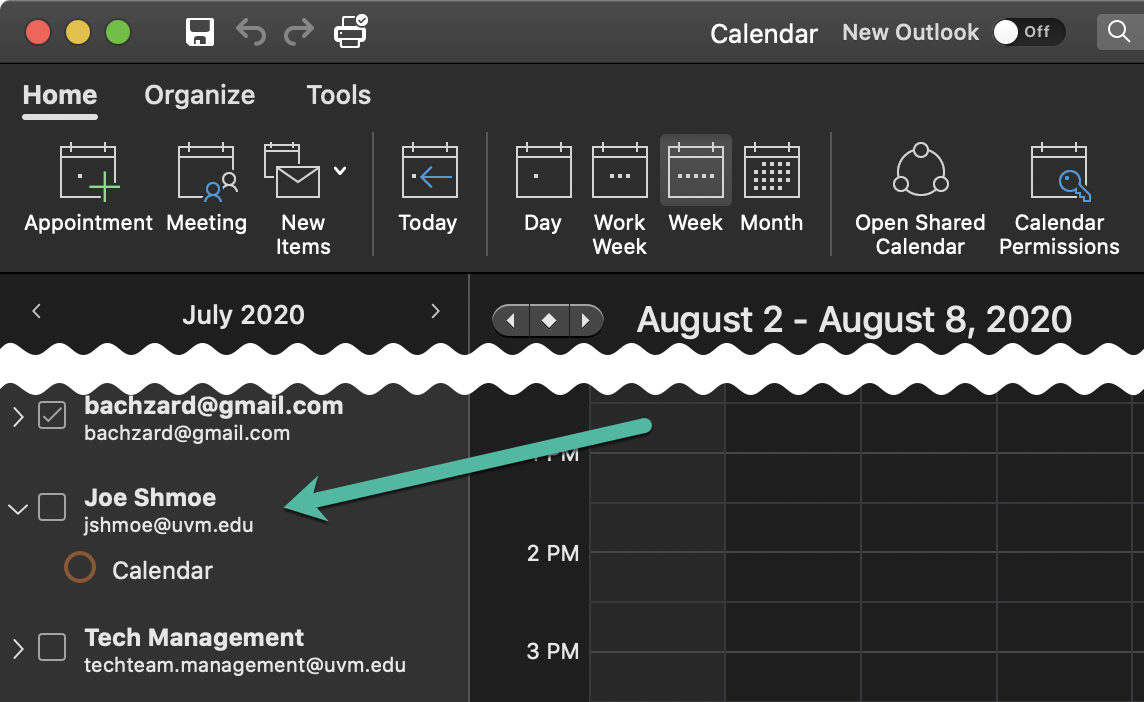
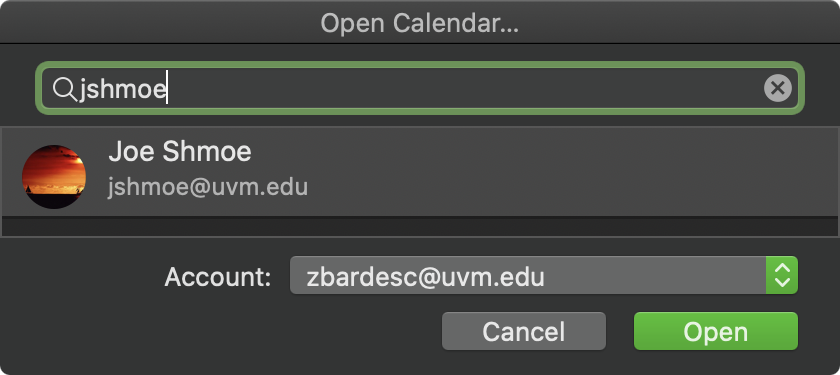
- From the Calendar view, click Open Shared Calendar.

- Search for the calendar owner’s NetID or name, then click Open.
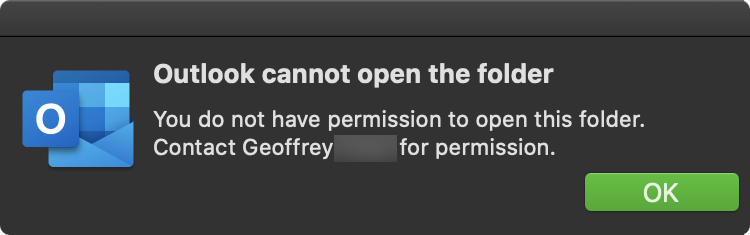
- The account owner will have to grant you explicit privileges to view their calendar on macOS. If you receive the following error, contact the account owner or just use Outlook on the web: You do not have permission to open this folder. Contact name of owner for permission
- The account owner will have to grant you explicit privileges to view their calendar on macOS. If you receive the following error, contact the account owner or just use Outlook on the web: You do not have permission to open this folder. Contact name of owner for permission
- You should now see this calendar in the left side menu.