Dominica Team Micro Hydro 2005
Alvin Chan, Philip Pulitzer, Ben Garber, Lance Stratton

Background
On
December 19 the group of students that went to Dominica received a free workshop
giving a basic walkthrough and day to day itinerary for the installation of
the pipes, turbine, and entire micro-hydro system. This training also
provided everyone with a chance to get familiar with some more of the materials.
The generator, turbine, Electronic Load Governor, and several other of the
materials needed were all brought and divided up in order to bring to Dominica
safely and legally.
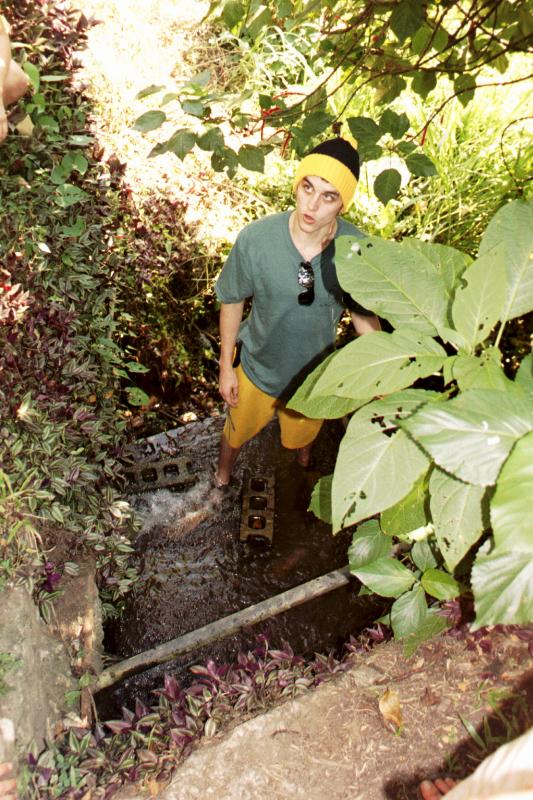
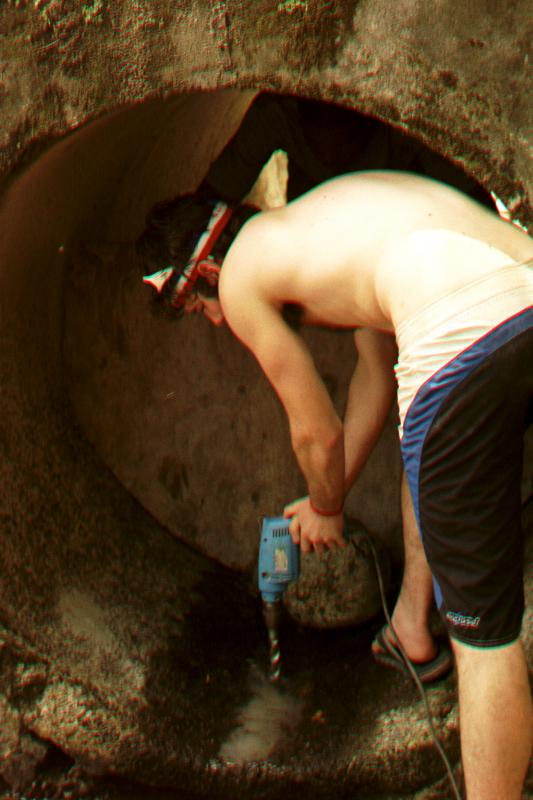
The
first step of the micro-hydro installation process was to cut or dig a line and
flag for the pipe to travel from the intake tank to the place where the
foundation was to be built. This was done on the very first day and gave
a good idea as to how much pipe was needed and where the pipe was to be
laid. This was met with some difficulty. We had previously thought
we would be able to dig but quickly found out the terrain would not allow for
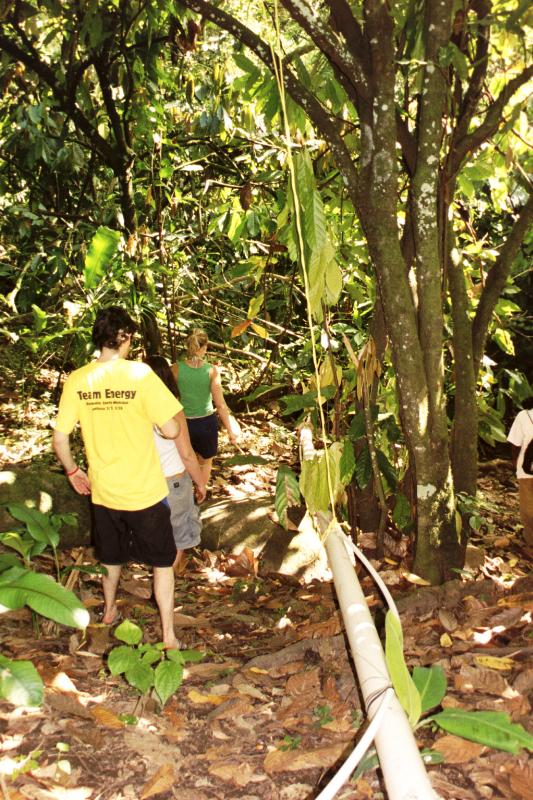
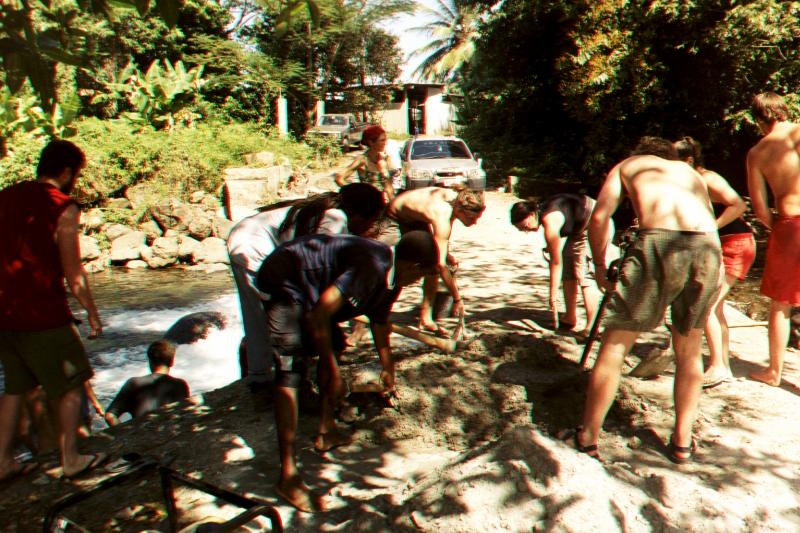
digging in many places. The flagging was supposed to take the entire
group 3 full days. We finished in about 1 day, before the group of local
students even arrived to join. When the local students arrived they were
put through a similar workshop to the one we were exposed to on December
19. This was led by Alvin Chan and gave the group of Dominican students
involved an idea of what we were going to be doing.

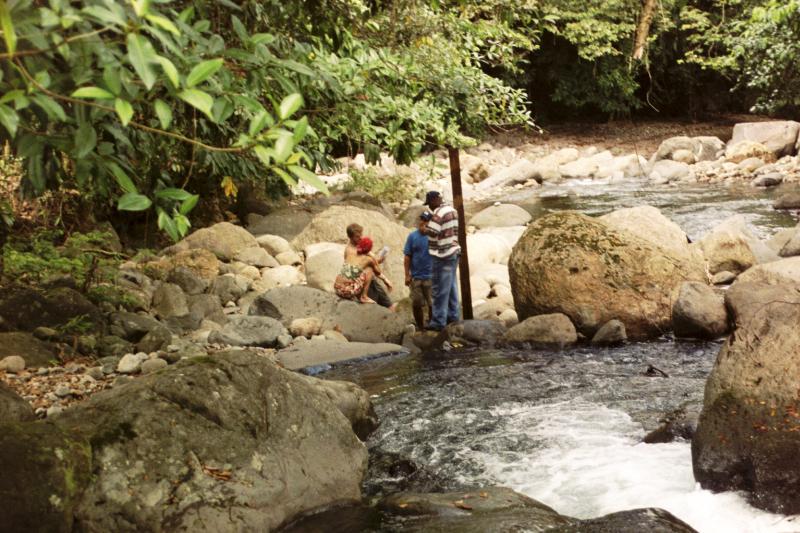
Initial Goals
1. Finish Intake The intake was divided into two compartments; the first compartment is to act as a sink to filter sediment. We also installed three screens. A large screen to stop leaves and bigger debris, a smaller screen between the two compartments, and a final fine screen capping the intake pipe.
2. Install Air Release Valves A snorkel was installed just below the intake valve at the top of the pipeline. This was to allow air to release, preventing water hammer. A second air release was installed just above the most drastic turn in the pipeline, also to avoid water hammer.
3. Install Clean Out A clean out valve was installed in both tanks of the water intake as well as at the bottom of the pipeline.
4. Paint Pipe The pipe was painted to prevent harmful UV rays from degrading the pipeline.
5. Redirect Pipeline and Fix Leaks The pipeline was redirected so that it would enter straight into the turbine house. There were a few leaks in the pipeline that were fixed.
6. Engineer Turbine Intake The turbine intake is the union between the four inch pipe and the half inch pipe sprays the water on the pelton wheel. The turbine intake was designed, constructed and installed.
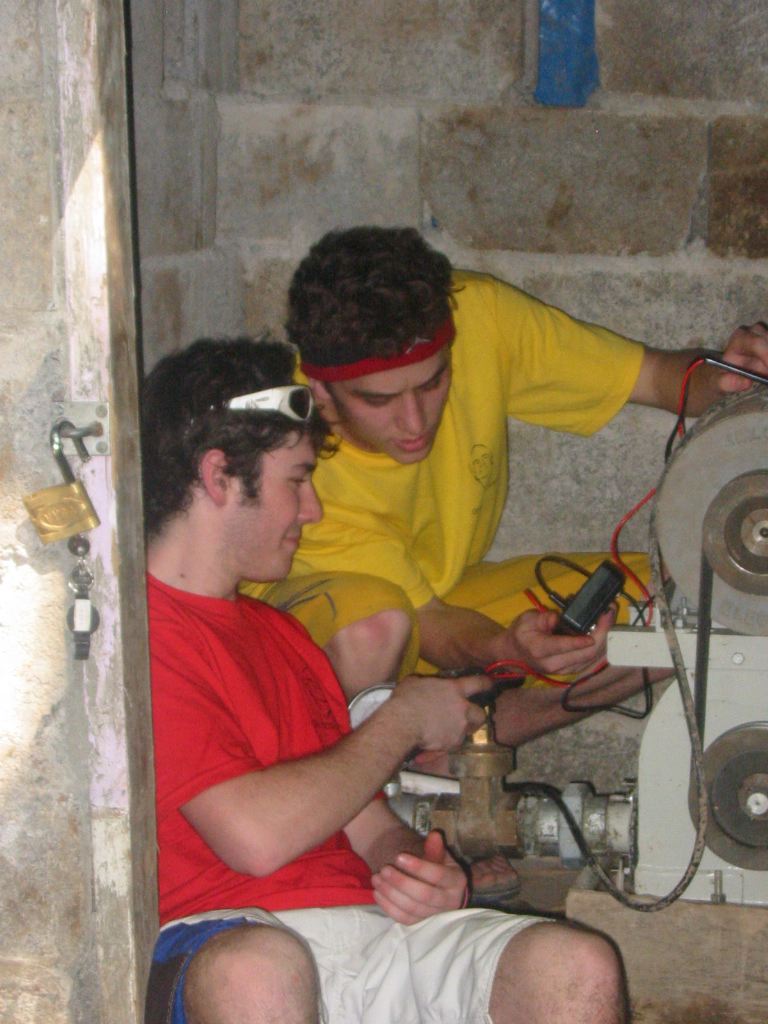
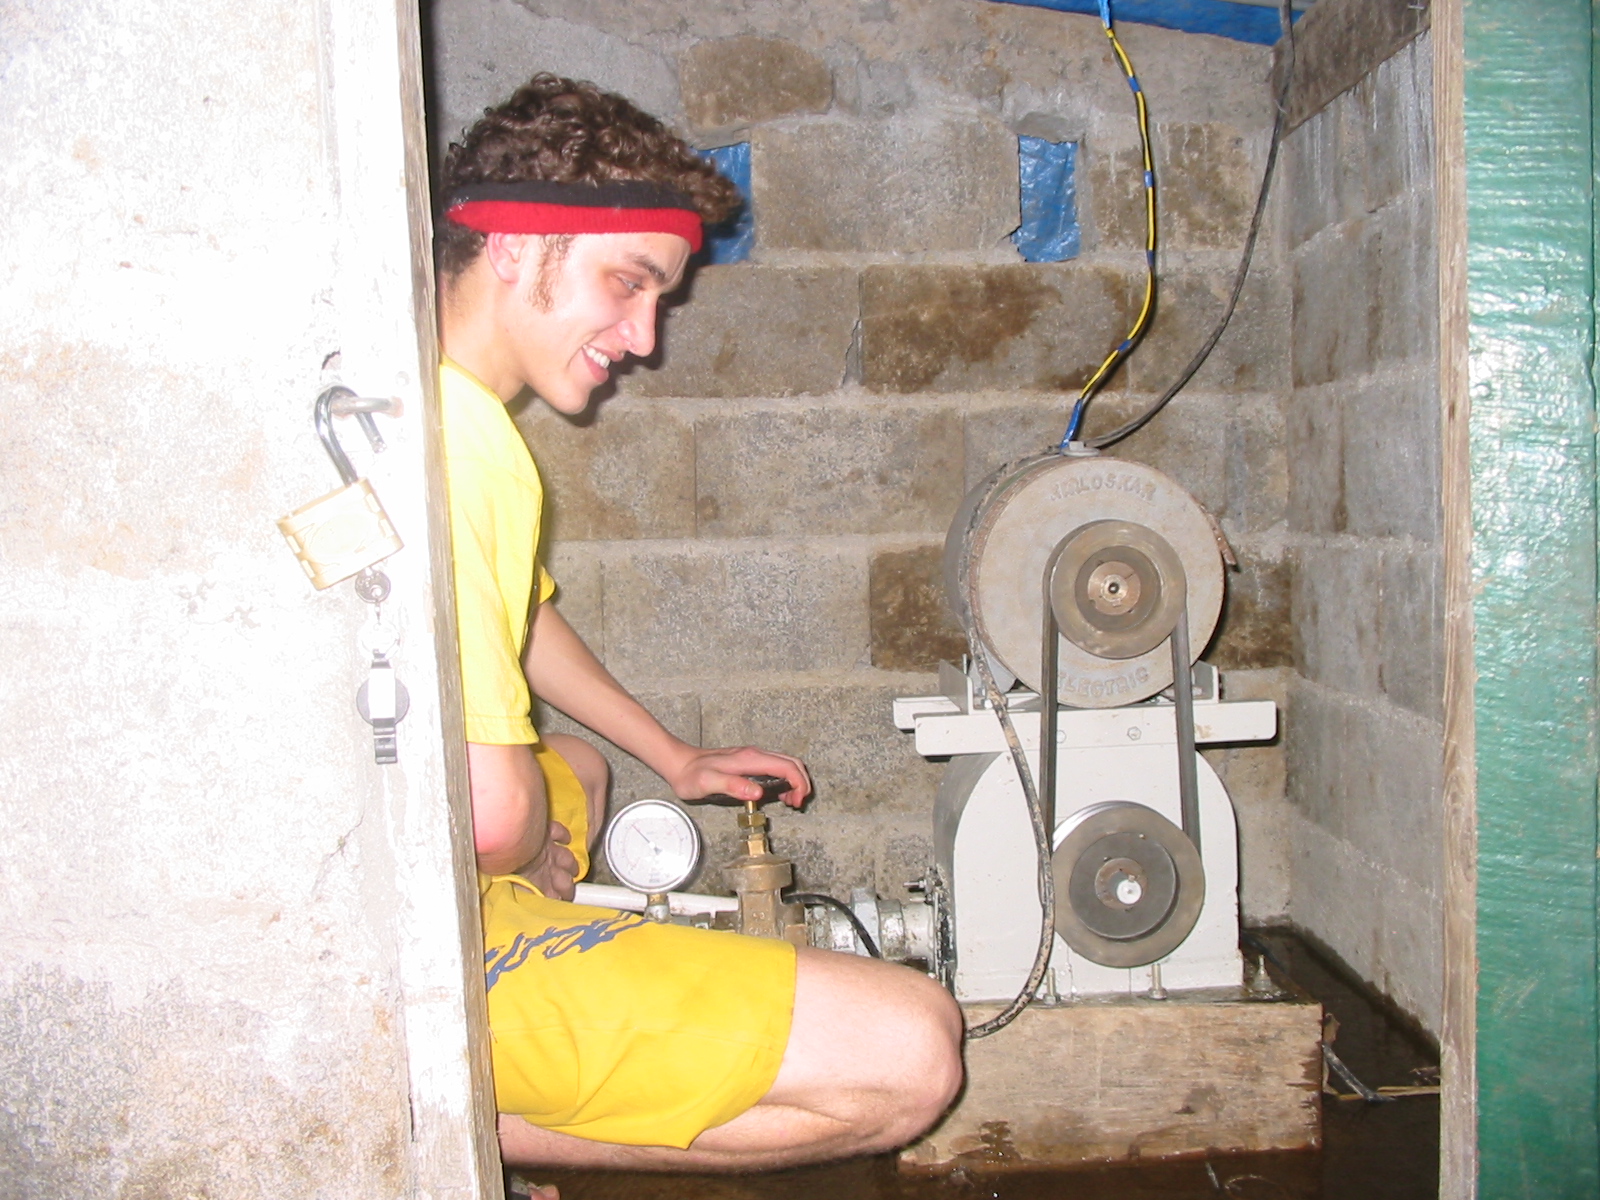
7. Build Testing System and Test Micro Hydro System An experiment to test the amount of power put out was set up. There were two sets of six 150 watt flood lights aligned in series. Once the system was running, each pair of lights could be switched on manually.
8. Install Intake at Future Micro Hydro Site We also began installation on a low head high FLO system
Accomplishments:
WE ACCOMPLISHED ALL OF OUR INITIAL GOALS!!! AND MORE!!!
Working relationships for future projects were also established. The team was also welcomed to an introduction into Dominican culture and made many good friends!
Future Aspirations of Team Dro
- Return to Dominica in June 2005 and wire a fully functioning micro hydro electricity unit to the Guesthouse at Springfield Plantation.
- Design and construct a low head high flow micro hydro unit at Three Rivers Eco-Resort.